Switch your 3D printer on and off with Octoprint and Tasmota - I wish, I'd known this YEARS AGO! (for example SonOff S20)
In this video, I am showing you how to use Octoprint and smart switches like this one to turn on your printer when the print starts and automatically off when it's done.
Hello, my name is Daniel, welcome to the CrossLink channel. Our mission is to help 1 million people getting more successful with 3d printing and if you're here for the first time, subscribe and enable bell notifications so you don't miss anything.
Last time, I was showing you how you can install the Tasmota firmware on SonOff smart switches like these guys here - and I've linked that video up here just in case you missed it - and now it's time to put this S20 to work for it's purpose of switching my Ender 3 on and off but it will of course work also with any printer connected to Octoprint.
Make sure you watch the video until the end because there is a nice bonus feature, I will show you after we've done and tested the setup.
What I want to achieve in the end is that I can turn the printer on from the Octoprint Web-Interface, then start a print and Octoprint should turn off this printer automatically, when the print is over.
But you might ask why all this effort to switch a device when you can just switch it on and off yourself. Well the reality is, and I think it's the same for you - sometimes I start a print at any given time and then I just forget to turn it off, or it's done in the middle of the night, so why let it run the whole night and waste power and be a potential fire hazard.
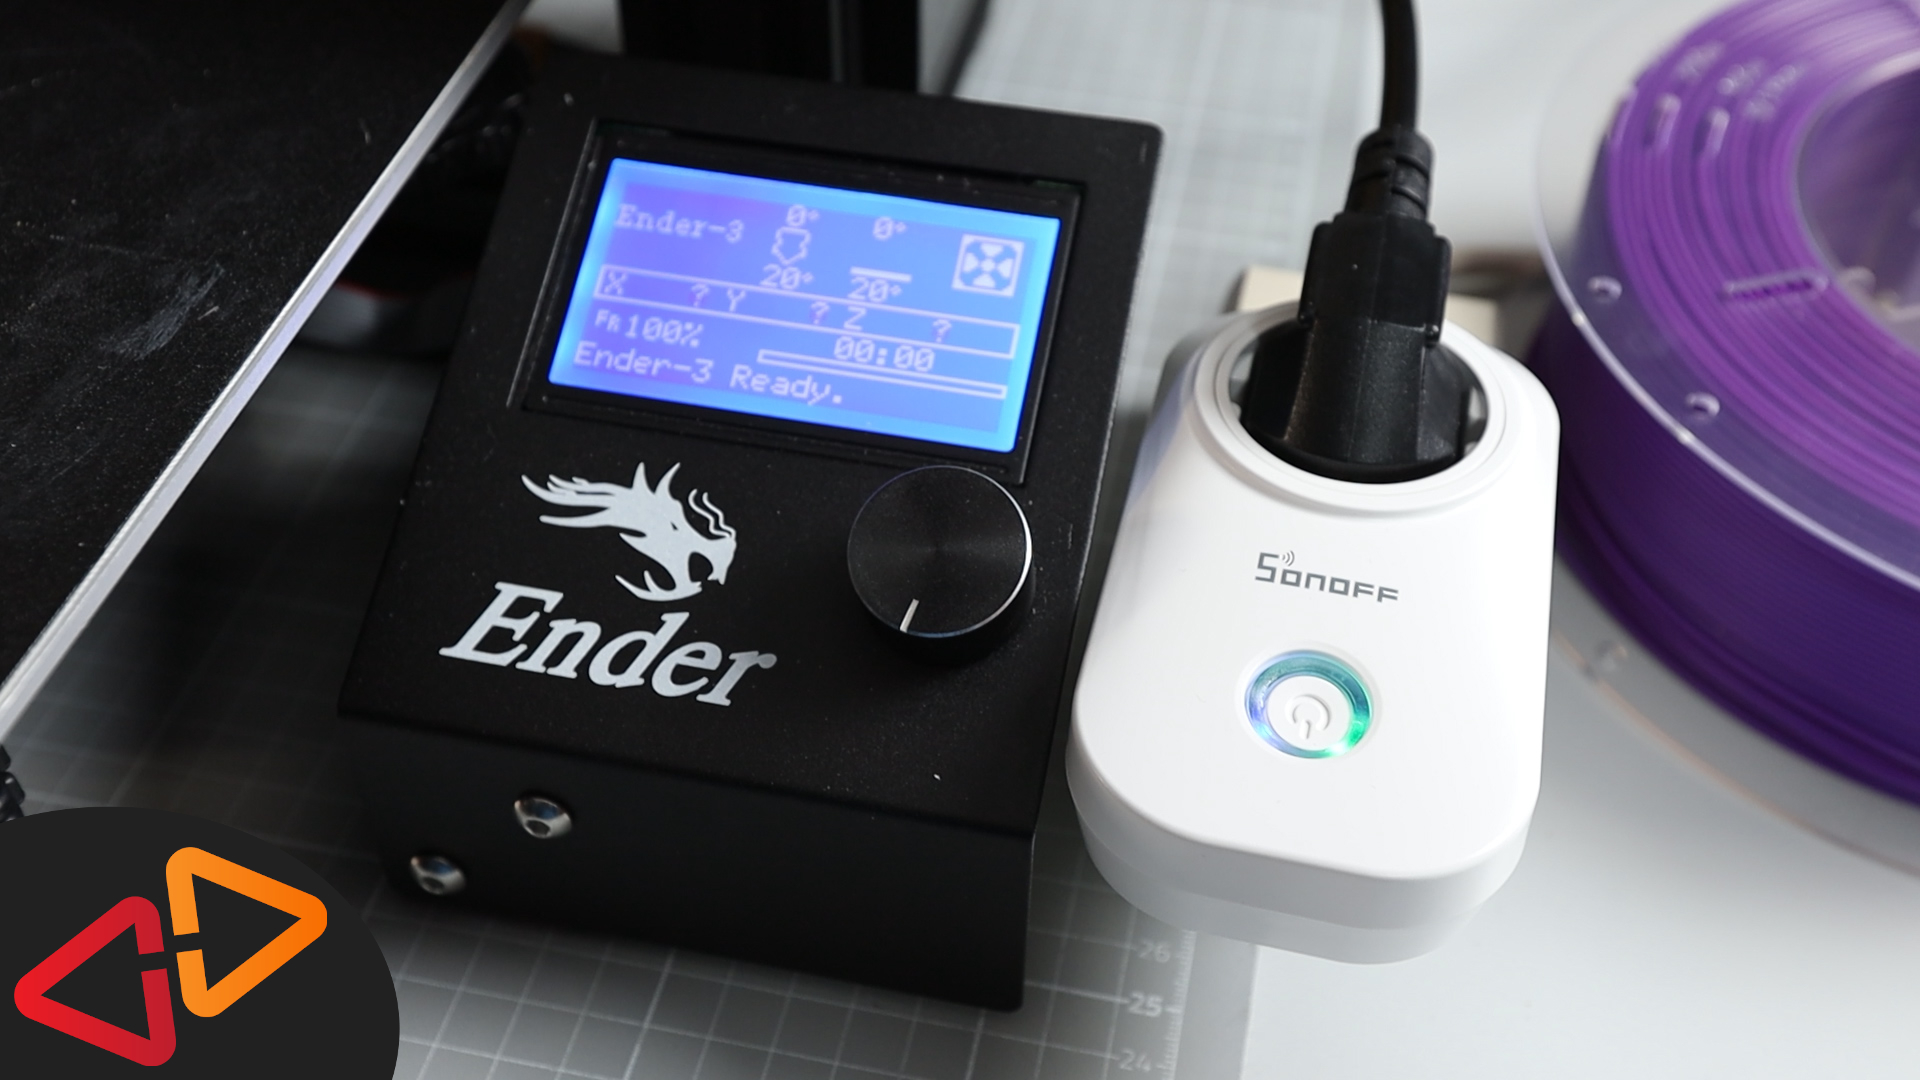
Just to give you a little more reason to fix that, I am just measuring the power consumption of this Ender 3 when it's just doing nothing and guess what - it's not consuming zero power. It's actually using 8 Watt now.
That doesn't sound much but if you let this happen with multiple printers like I sometimes do, that sums up to a few bucks every month just for being lazy. So let's not be lazy, let's do something responsible and get this working.
So, I have this tasmotized switch here that is already connected to my network. I can already switch it on and off using Alexa, let's try this.
Alexa - turn the Ender 3 on
...
Alexa - turn the Ender 3 off
Ok, let's have a look in Octoprint, how we can automate this.
In Octoprint, click on the Settings button, so the settings dialog will open.
Then, select the Plugin Manager.
Here, click the "Get more" button to install a new plugin.
Then, in the search field, enter Tasmota.
I am installing the first one that is named OctoPrint-Tasmota.
After the installation is done, we have to restart the Octoprint server, so I am confirming this HERE.
Yes, I am sure - Hit Proceed.
Now, It's gonna take a few seconds.
And we can reload the page.
We now will configure, how and when the printer shall be turned on and off, let's head over to the configuration page again.
Somewhere near the end of this settings list there should be the Tasmota section. Let's click that.
Here, we have a few settings that we first should enable before adding a Plug or Switch to the list.
Error Event Monitoring means, once the printer runs into an error, I want it to be shut off. That means, you will probably not see anymore what was happening on the printer display but you can look into Octoprint's logs to see any errors that were reported by the printer.
Enable polling of status I will also switch on
And finally power off on idle. That will automatically shut down the printer after a print has finished and if it is idle for a certain amount of time. Actually I think 30 minutes is way too much, let's set this to 5 minutes just for testing purposes.
Then, we need to add our Tasmota switch to this list by clicking the Plus button here at the right.
For adding the switch, you need the IP Address or network name of that switch, so in my case, I am using ender3power because that is the address of the Sonoff S20 I installed in the last video. If you happen to know the IP Address, you can also use that.
The Index would be more relevant if we had a switch would have multiple relais, so there is only index 1.
And you can set a label, that is going to be how the Switch appears in the list of switches, so let's also enter something meaningful here.
I didn't set a username or password in Tasmota, so leaving this as it is.
Now, let's check that this is working by hitting the verify button.
It should say "Tasmota device responded and is configured properly." If there is another question being asked about enabling a required option, please confirm that and then try again to verify.
Ok, now let's finalize the settings here. We wanna do an auto-connect, after the printer has been turned on, otherwise OctoPrint cannot talk to the printer.
And there needs to be a bit of delay between switching on the printer and connecting, so I am leaving this on 10 seconds.
Auto Disconnect can be left on as well.
I am also enabling all warning prompts, especially during printing, so I don't accidently turn the printer off, while its printing.
Off on idle, you also need to check and off on error as well because only if these two switches are set at the individual switch, the settings from the main page will actually have an effect.
Now, we can close this.
Finally, click save and we should be able to test this feature.
But there is one little thing left to do.
A thing that you will run into most probably is that once you connect your printer to Octoprint while it's being shut off, you will see that your printer's Display is going to light up even though the printer is actually disconnected from the mains power.
This means that the printer's mainboard is now getting powered over the USB cable from the Raspberry Pi and that's NOT good because the Raspberry Pi Power supply is not meant to be powering 3D printers and we should prevent it from backpowering our printer here.
OctoPrint even tells you about this fact, mentioning this in the upper status bar as an undervoltage issue. This can lead to instability while running the Raspberry pi, so we should definitely fix this.
How do we do this?
There is actually a simple hack to do this. The USB-A Plug that goes into the Raspberry Pi has four pins, if you look closer. If we look down on the pins, so the metal pins are facing up, the most right pin is the Plus pin, that is powering the printer from the Raspberry Pi with 5 Volt, so if we just take a little piece of tape and put it just over this pin, we can actually still use the USB cable as a data connection without being a power cable anymore.
You see, no backpowering anymore, let's now test if our Tasmota Plugin works as expected.
First thing you will notice is this new Lightning Button in the upper status bar. Currently that is red, meaning the Plug is switched off.
I also have the tasmota web-page open to see whats happening. And it's currently reporting to be off.
Now, I will click the lightning button, it will turn green.
if we look at the Tasmota, it's turned on, thats good.
Now, it will take 10 seconds that we have configured to wait until Octoprint tries to connect to the printer.
And here it happens, it's connecting and reporting to be operational, that's great.
So let's start a very simple print from OctoPrint now. The printer is on - here is the file i've uploaded, it's just a test sqare that takes one minute to print , so let's print this.
And, we're in the last seconds of the print
So, the print is done, let's wait for the shutdown...
[CLICK]
Whohooo, awesome!
Now, I've promised you a bonus feature, here it comes. If you use CURA as your slicer and you have already your OctoPrint Connection set up, so you can already send prints over to Octoprint from CURA, you're going to love this.
If you didn't configure this yet, I've linked a video up here for you where I quickly explain how to connect CURA to Octoprint so you can do this first and then come back to this video.
So in CURA, go to manage printers and then make sure you have activated the printer, which is connected to Octoprint and has the Tasmota plugin configured...
Then, click "Connect Octoprint"
And here you will see a new checkbox showing up "Automatically turn on printer with". Make sure that the name of the Switch is correctly selected and click close.
If you now start a print from Octoprint using the "Print with Octoprint" feature, the printer will automatically turn on and you will get this message in Octoprint "Waiting for OctoPrint to connect to the printer...". As soon as the printer is ready, Octoprint will start the print.
If you get an error message and this is not working at the first try, this happened to me actually when I first configured this feature - just close Cura once and start it again, Reboot octoprint and then it should be working fine.
So guys, Let me know in the comment section what you think about this video and check out the videos, I've linked in these cards here and here.
Thanks for watching, see you next time!