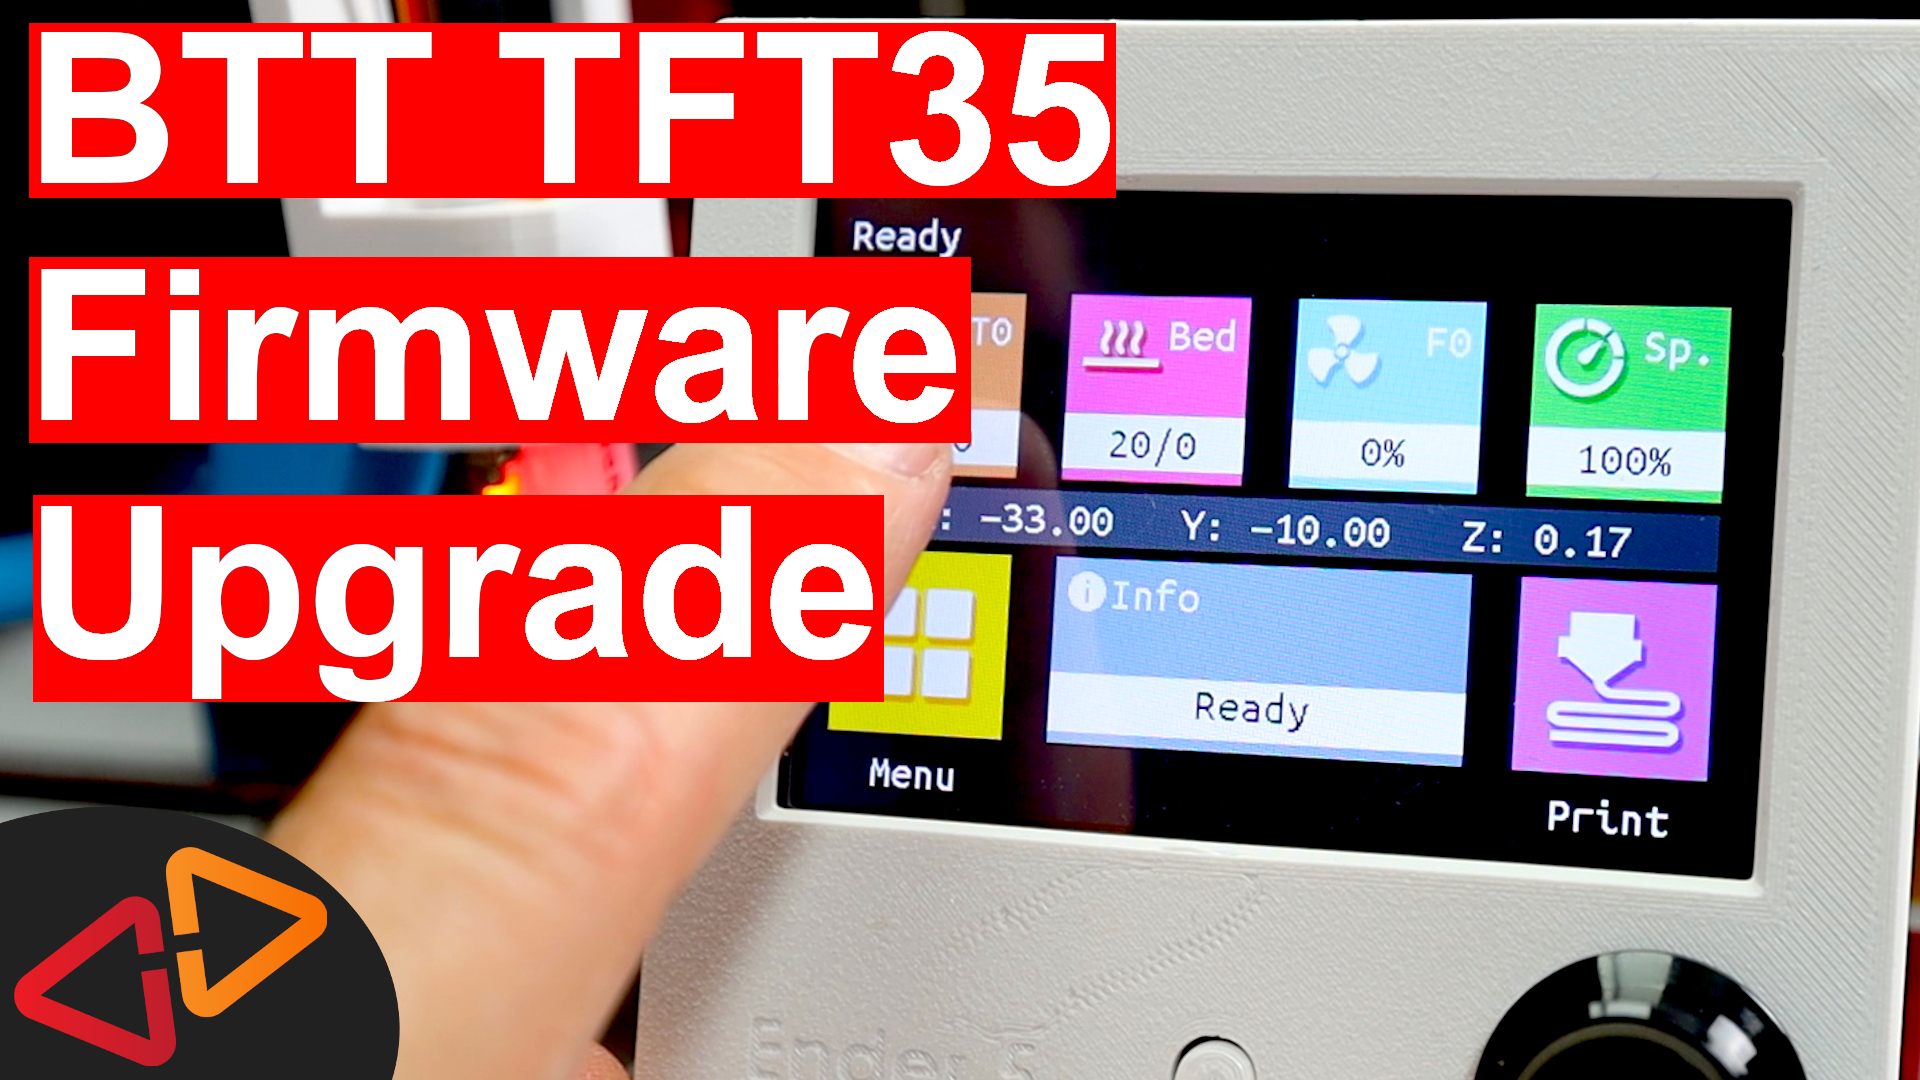
In this video, I'll show you how to upgrade the firmware on Bigtreetechs TFT touch displays like the TFT35 and how to customize the User Interface.
Hello, my name is Daniel, welcome to the CrossLink channel. Our mission is to help 1 million people getting more successful with 3d printing and if you're here for the first time, subscribe and enable bell notifications so you don't miss anything.
In the last video about the Bigtreetech TFT35, I've shown you how to install the display to the SKR mainboards, so just in case you missed that video, it's linked up here.
Today, let's take care of how to upgrade the firmware on this display and how to customize the UI with colorful icons and custom functions. This should be identical to other versions and sizes of displays from Bigtreetech and BIQU as well.
So, to get a new firmware, we first wanna check what firmware version is currently installed on the display and we'lle do that by tapping the Settings and then the Info Button.
So this firmware that was delivered on the Display is from Nov 15 2019, so let's check if there is a more recent version available.
So, for that we'll go to the github page from Bigtreetech for the display firmware, which I have also linked in the video description.
On that github page you already can see, there is two different themes for the display icons and menu structure available. And as you might already know the old one, which is ok but not very modern, I will show you how to upgrade to the new colorful look that will look like this.
So the first thing you should do is to download this whole github repository as a zip file to your computer.
Just click the "clone or download" button at the top of the page and then select download zip.
Then, you will have to select where you want this file to be downloaded and as soon as it is finished, unpack this entire zip file into a new folder.
Inside of that new folder, you will immediately see these two folders here that are starting with "Copy to SD card root".
Let's open the folder that ends with the "unified menu material theme", which is the new colorful style.
Here we have all kinds of pre compiled firmware binaries. The question of the day is - should you use those firmware binaries over building them on your own.
Well - This is not an easy answer. I have found that the number of bugs in this firmware is still quite a lot and bigtreetech seems to fix those bugs also quite fast in the source codes but the frequency how often they create new precompiled binaries from those source files and upload them here is quite unreliable.
So depending on when you are watching this video it might be that there is a very recent new version of these binaries in this folder or like in my case this binary might be 20 days old and to get the latest bugfixes you would have to compile a new version yourself.
So for now let's assume that these binaries are recent enough to upload them to the display. Later in the video, I'm going to show you how to compile the firmware yourself.
So, depending on your kind of display, in my case I have the Bigtreetech TFT35 version three point zero E3, select the bin file and also the config.ini and the corresponding subfolder here at the top.
In my case, that's also going to be the TFT35 folder. That subfolder contains all the customized icons for the menu and also the bootup logo.
So these three items will be copied over to an SD Card's root folder, for now completely unchanged as they are.
Ok, that's done, now it's time to insert the sd card into the display's sd card reader. After that you can either reset your printer or turn the power off an back on.
The display's bootloader will read the new firmware from the sd card and install it first, then it's going to copy over the new font and theme and finally, It's applying the config file.
And the new firmware is ready to go and shows the new colorful material theme, very nice.
So the first thing you will probably see depending on what communication speed you have set in Marlin firmware for your serial port - might be that the display reports the "no printer attached" error.
That can be fixed simply by opening up the menu option, then selecting settings and then finally toggling the uart speed in my case from 115200 to 250000. After a few seconds, the display should be able to connect to the mainboard again and the error message should disappear from the top.
So, if you've been using the previous design and firmware version, this new style will look different and it has it's menu options organized a bit different, so let's quickly walk through what is to be found where.
First thing to notice is that on the start screen, all the important status information is now always visible. Nozzle and bed temperature, fan speed, print speed and extrusion factor.
In the middle there is the nozzle position
and underneath, there is an info area, where current status messages will appear.
In the lower right corner is the print menu, from where you can start a print directly either from the sd card or from a usb stick.
And finally in the lower left corner of the menu there is all the other functions that you might know already from the other design like temperature control, movement and homing, extrude and more functions.
One thing in particular that I would like to show you is the Custom menu, which currently seems to be empty. That menu can hold custom actions to send GCODE commands to the printer and have a unique named entry for each of your custom actions in this menu.
So let's find out how to configure a new custom button and other settings for the display now.
Take that SD card and put it back into your computer. And you should see that all the files and the folder that has been flashed to the display have been renamed to have an extension "CUR".
That means, they have been used successfully the last time the printer was turned on with this sd card inserted.
So let's rename config.ini.cur back to config.ini and open it up in a text editor to change it.
Ok, what can we configure here.
First, we can switch between the unified menu, that's the new menu structure with the info screen back to the old menu structure that's called classic menu. This has actually nothing to do with the colored icons, it's just about the menu layout. I will leave it on unified menu because I like that one more.
next here is the default baudrate setting for connecting to the mainboard. Because I have my mainboard set to 250000 for the serial connection and I don't want to change this all the time when I flash a new configuration to the display, I am going to change this to 6, which represents the 250000 speed value.
next, you can change the default language here but you always can change that in the display menu later. This is just for convenience same as the serial port speed setting so you don't have to change it every time you flash a new firmware version.
Then, there is a whole bunch ofcolor settings that you can customize here. To know what number means what color, scroll down a bit, there is a list of default colors here a bit below but there is also an explanation how to use custom colors by giving the RGB hex representation instead.
What else could be interesting to change, there is all kinds of settings you might wanna look into. I am currently mainly interested in changing the custom menu actions.
So here at the bottom, there is the custom G-Code commands. This list can hold up to 15 GCODE commands. And surprisingly, the first seven commands are actually enabled and should have been visible in the custom menu on the display but actually that menu was empty if you remember - so what happened?
Actually, this is a perfect example of this firmware binary being outdated because it contains a bug that has already been fixed in the source code but nobody has created a new pre-compiled binary yet.
So at this point, we need to actually create a new firmware binary ourselves using Visual Studio Code and Platform.io.
I've made a video for you that explains how to prepare your PC or Mac to be ready to compile Marlin firmware or also this Display firmware with Visual Studio Code and PlatformIO. This video is linked up here, if you don't have that software installed yet.
So, let's open up the display firmware in Visual Studio Code by clicking the explorer tab and then open folder.
Select the folder where you unzipped the display firmware files and Click Select folder.
So compiling this firmware for your display model is really super easy.
Here in the left menu click the platformio icon, thats the little ant head icon.
Then look for the entries that start with env: and identify the one that fits your display, in my case I have to use the BIGTREE_TFT35_E3_V3_0. So by clicking this arrow here, I am opening this subtree.
Then, you just have to click Build to compile a new firmware.
This might take a while, and when it's done it should report success for the display type that you just started the build for.
Now, where will you find your new firmware file?
Get back into the windows explorer where the source files are and navigate to the .pio folder, then to the build folder and finally into the folder that is named for your display.
And voila, here is your new firmware.bin file ready to be uploaded to the display.
So let's copy this bin file to the SD card together with the config.ini file. I am also overwriting the Logo.bmp file in the TFT35 folder with my own custom logo, so I'm copying that folder to the sd card as well.
Now, let's insert the SD card back into the display's SDcard reader and recycle power for the printer.
The firmware gets updated - and it's done.
Here goes my custom bootup logo!
And we're back on the main screen. Let's check if the bug with the custom menu is gone.
And yes, it's working again.
So you have seen that upgrading the firmware of these displays is easy but sometimes the precompiled binaries from the github page are not very fresh but it's also not complex to compile a new firmware yourself.
Next up in this series, I am going to compare the SKR 1.3 and SKR 1.4 mainboards and show you what are the differences so stay tuned for that video.
I've also linked two other video here in these two cards for you.
Hope to see you soon back on the channel - thanks for watching - bye!

