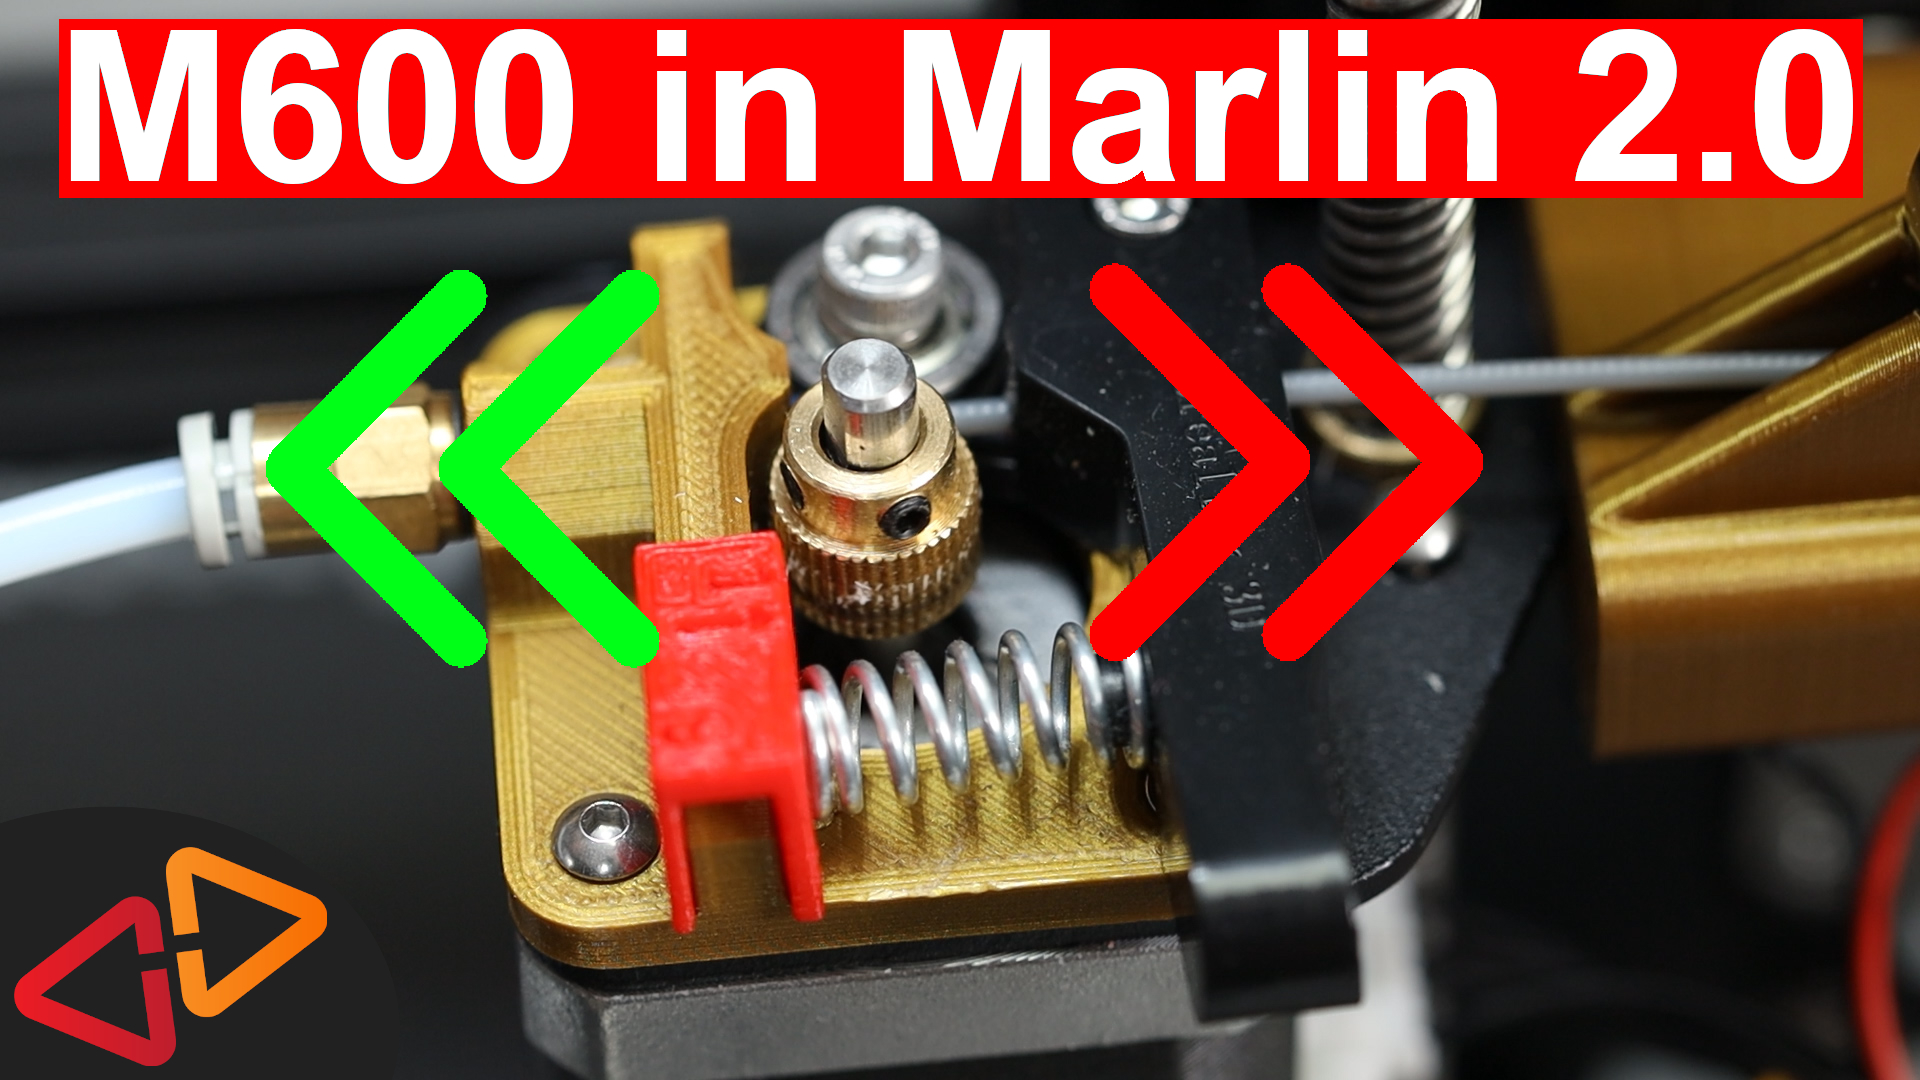
In this guide, we'll configure the M600 filament change command in Marlin 2.0.
Hello, my name is Daniel, welcome to the CrossLink channel. Our mission is to help 1 million people getting more successful with 3d printing and if you're here for the first time, subscribe and enable bell notifications so you don't miss anything.
So, filament change is one of these things where some of you might say - hey what's so complicated about it, it's so easy!
Yes, for most part I would agree, on the other hand, I've seen printers like the Adventurer 3 for example, where the filament change is done through a simple button tap in the touchscreen menu and for most part, the process is completely automated. So it can be even easier and I want this on all of my printers.
Also, I like to install a filament runout sensor on this Ender 3 soon and the filament change function will be used in combination with that sensor.
So that's where Marlin's M600 filament change command comes into play.
To get this feature, we only have to make a few changes in our Marlin configuration files and upload a new version of the firmware to the printer.
So, if you are new to this process, I highly recommend to watch my Marlin 2.0 configuration and uploading guides first.
They're all part of the playlist that I've linked up here - and if you think, ok I'm ready for this, I know how to build Marlin firmware and how to upload it to my printer - come back to this video and we'll start from here.
In the Marlin 2.0 Configuration.h file, the first thing to locate is the NOZZLE_PARK_FEATURE option. This should be around line 1502. So let's enable that.
This introduces the G27 command, which moves the nozzle into a position where it's safe to change filament and where it doesn't matter when filament oozes out of the nozzle. And that's of course more relevant when you wanna change filament in the middle of a print.
What's going to happen if we change filament, there is going to be a fair amount of filament that will be pushed out of the nozzle, so it's good if that happens somewhere at the edge of the printbed.
Then go to about line 572 and set EXTRUDE_MAXLENGTH to 600. this will make sure we can load and unload enough filament with the filament change function.
Next - we will open up Configuration_adv.h.
And we'll look for ADVANCED PAUSE FEATURE - that should be around line 1868. That is the filament change option which adds the M600 command and that is also coming with a menu option to change, unload and load filament.
Here below the option, we have a lot of other settings that we can tweak for our specific printer.
So the first thing to do is to figure out this FILAMENT CHANGE UNLOAD LENGTH. That's the approximate distance between the printer nozzle and the extruder gears that transport the filament.
And for a bowden extruder printer like the Ender 3, that's a longer distance, in my case about 600mm.
For a printer with a direct drive that's much shorter, maybe more like 50mm.
So you need to find that value for your printer by using a ruler for example and then enter that number here. It doesn't have to be super accurate in the first place, we can change that later.
I also will crank up the unloading feedrate to 100mm/s.
Then a few more changes here below.
I've set the FILAMENT CHANGE SLOW LOAD FEEDRATE TO 10
and the FILAMENT CHANGE SLOW LOAD LENGTH to 25
that's for having an initial slower feedrate so I can push in the filament gently into the extruder gears and then after a few mm it will switch to the faster load feedrate that's defined here with FILAMENT CHANGE FAST LOAD FEEDRATE
Next, I am defining the FILAMENT CHANGE FAST LOAD LENGTH and that is a bit lower than the extrusion length, call it cautious because I like the filament to be pushed through quite fast until it almost reaches the nozzle.
And then I'd like to slow it down again and have it being continuously pushed through the nozzle for quite a bit so I can decide when it's time to stop the feeding by pushing the control button.
So, I am enabling the continuous purge option and the length is defined with ADVANCED PAUSE PURGE LENGTH.
Finally, I will also enable PARK HEAD ON PAUSE, so it moves to the desired nozzle park position when the print pauses so no filament oozes on the printed parts and we can change filament easier.
And I'd like to have also additional GCODES for loading and unloading filament but that's optional.
So the configuration is done so far, now I'm uploading this new firmware to my printer.
After that's done, I'm also doing an EEPROM init because of the firmware changes. You can either do this via the M502 command followed by an M500 command
or alternatively through the advanced settings firmware initialization menu.
Let's now test if the filament change option works as expected.
Right here in the top level menu, there is a new entry called "Change Filament" and in there we find three options.
Change
Load
and Unload Filament
so pretty obvious what every option will do. I'm going for the Change Filament Option.
Then, I have to select, for which type of filament I like to pre-heat the nozzle.
In this case, I select PLA because that is what I have in the printer right now and it's also what I want to load.
Remember, if you like to change filament types like from PLA to ABS or from ABS back to PLA, always select the temperature for the material that requires the higher temperature.
So the nozzle is heating up now and once it's reached the final temperature, the filament unloading will start.
It's happening now, the extruder motor is pulling out the filament.
Once it's completely out, the nozzle will be kept on temperature for a little longer but not much longer, probably more like 30 seconds.
So don't be wondering why after a while, the display will change from "insert filament and push button" to "press button to heat nozzle".
So in this case, you will have to push the button and then wait again until the nozzle reaches temperature.
And then you should be ready to insert the new filament and then push the control button again to confirm to start loading the filament.
If your printer has a beeper, it will also beep as soon as it's time to press the button.
Once the filament has been pushed in and you see the new filament coming out of the nozzle you may push the button again to stop the extrusion or you can also just wait until it stops on its own because there is also a limit in the firmware for that final extrusion length.
What happens if you set the filament load length to a value that's too high?
In this case you will notice that once the filament reaches the nozzle, that your extruder most probably will start clicking because the filament is not able to extrude fast enough.
How could we fix that easily?
There is actually a configuration option in the printer menu under configuration - advanced settings - filament, where you can customize the unload and load length in mm.
For my Ender 3 I am currently using 530mm of unload length and 430mm of load length.
The load length is shorter because after that initial load length, which is done fast, there is another 50mm being extruded at a slower rate.
That length cannot be configured from the printer menu but it is the ADVANCED PAUSE PURGE LENGTH in the configuration section that you've modified before.
Don't forget to store the new values once you've changed them with the Store Settings function in the configuration menu.
So that's the M600 command in Marlin firmware, hope you find this useful and if you're interested in more helpful videos, I've linked another two here in these cards for you.
Hope to see you soon! Bye bye!