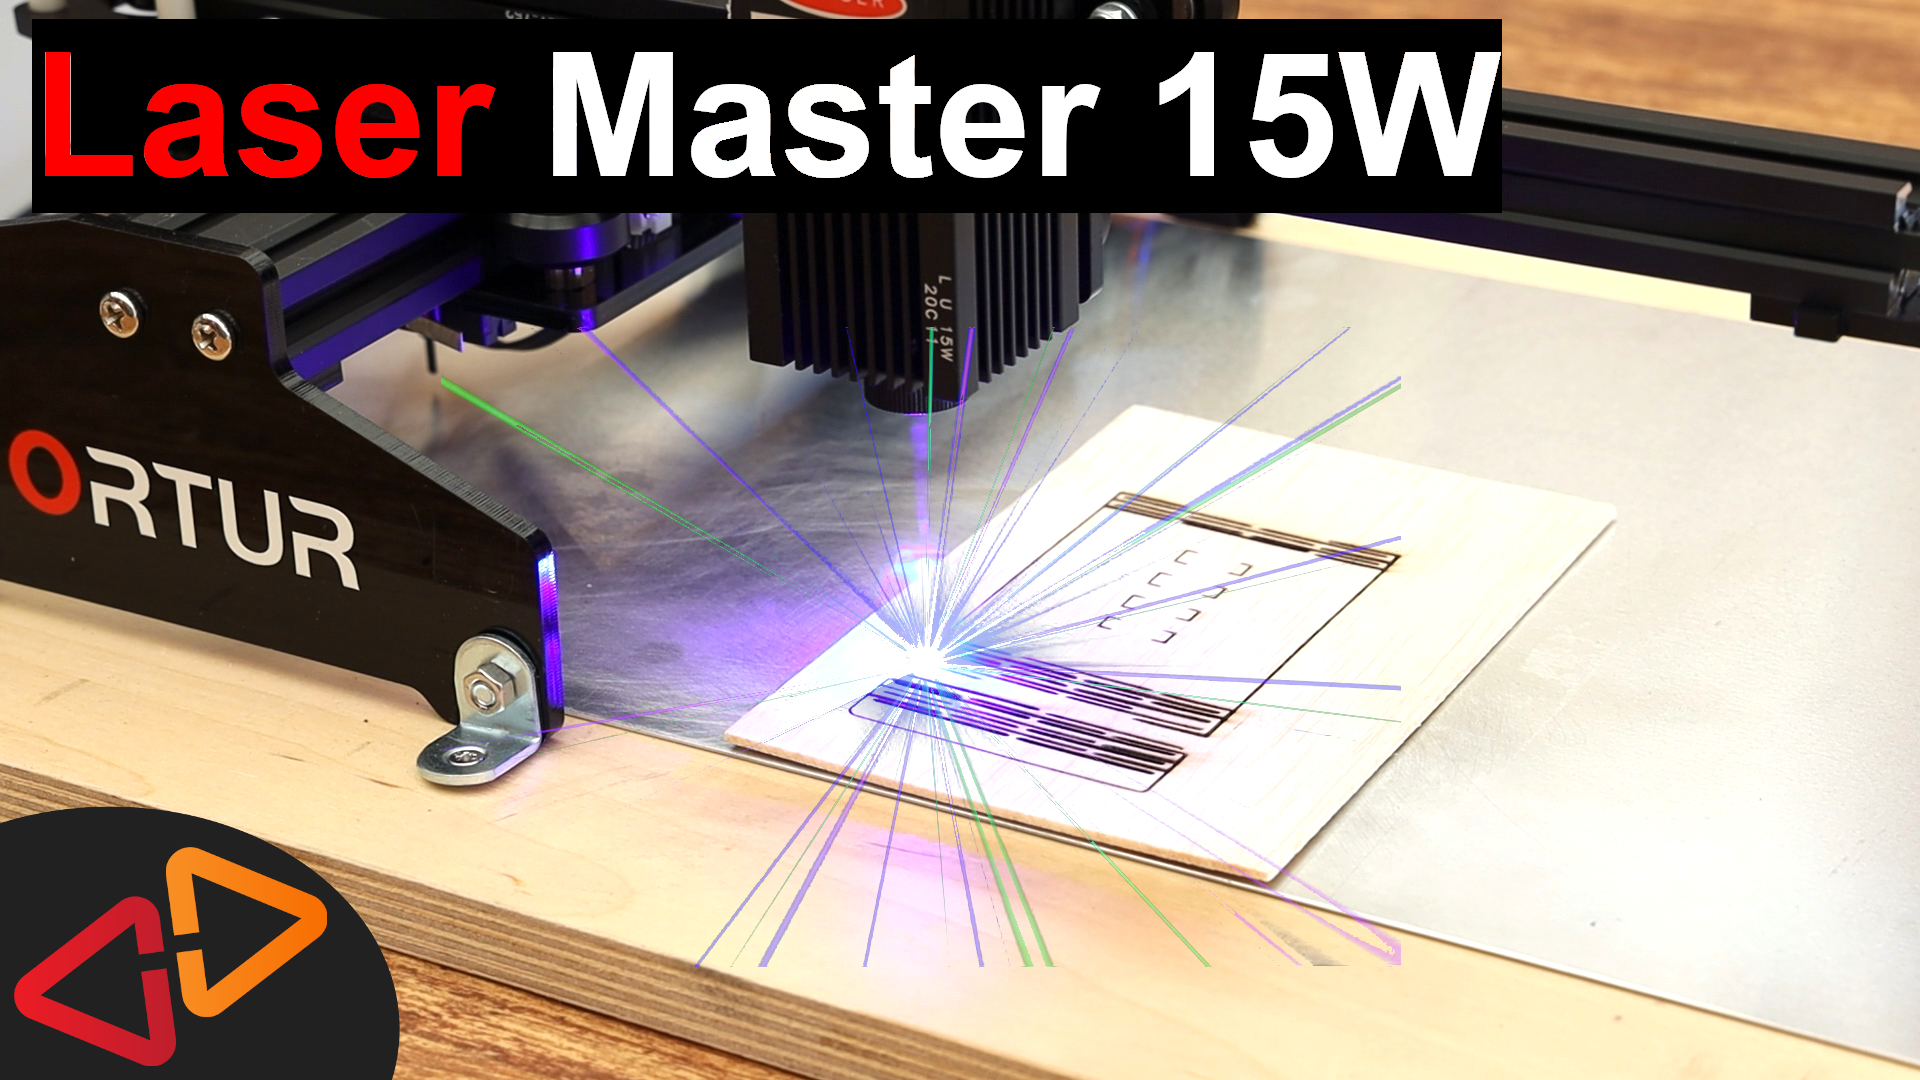
Hello, my name is Daniel, welcome to the Crosslink channel. This is my review of the Ortur Laser Master 15W, an affordable laser engraver and laser cutter.
Over the last couple of weeks, I was able to test the Ortur Laser Master 15W, which was sent to me for free by Gearbest, so thanks very much to Gearbest for sponsoring this device.
As usual I'm doing this review completely unbiased, I'm not getting paid for it, so this is going to be as honest as every time. And also all the links to the machine to purchase it, additional software and manuals are in the description of this video.
I'd like to ask you one thing upfront, please after watching this video, leave a comment what material tests you would be interested in besides the ones I did for this video. I'm happy to do a follow up video with more tests and different materials for engraving and cutting. Also all of my settings for different materials that I discovered so far are available on my website for my Patrons, the link is in the description of this video.
I wanna say a few things about safety upfront.
Laser machines are dangerous, you can hurt yourself if this is used in the wrong way.
Always run these devices in a safe place - especially away from children and pets. Wear your protective goggles all the time when you use the machine to protect your eyes.
Don't leave it running unattended and also make sure the surface where you're putting it on is fire proof. Also the area should be ventilated or is at least nearby an open window.
So with this out of the way, let's get started with the review.
Starting with the assembly process, which just took me 5 minutes. Nothing was missing in the box, so I had a smooth building experience.
Essentially, you just need to plug in a few cables, fix the main parts with four screws and you're done.
Let's talk a bit about the specs of this device.
You already know from the name, it has a 15W Laser. Now that is not the actual light output power, it's the electrical power consumption. The real light output is between 4 and 4.5W.
The laser frequency is around 445nm, so keep that in mind if you buy protective glasses or something like this protection glass I'm planning to use for building an enclosure.
The working area is about 160 by 150 mm large.
The theoretical resolution is up to 20 lines per millimeter - FAR more than 300dpi, my real world tests show that about 4-5 lines per millimeter is already enough to produce high quality results.
It has a 32bit microcontroller, so movements are smooth and fast.
But it doesn't have an SD card slot - so you cannot run this independently from a computer, you always have to have a computer running nearby connected through USB, which sends over the engraving commands.
For Windows users, there is a free software, called LaserGBRL that will control the laser machine.
Mac Users will will have to use another software, for example Lightburn. That is super powerful, it's also available for Windows. It has a lot of features, but also costs 40$, so it's not free - however there is a trial version, so you can check if it's worth the money.
I definitely will have a look at it but this is clearly something for another video.
You can download all the LaserGBRL software and the pdf manuals from the link that's in the quick start manual.
Now, I'd like to walk you through one end to end example of engraving the crosslink logo to this piece of plywood.
The first thing here in the LaserGBRL software is to load a picture or an outline of the thing that you wanna engrave or cut into the material - and in my case, I only have this picture, so this needs to be converted into something that is engraveable and that this device understands - and that's what the software is for.
So we first have to decide whether this should just be a black and white - that means that anything that is not white in the picture, is going to be black in the engraving, but if you wanna have some kind of shades of gray - you have to use a conversion method that is called dithering.
And that converts grayscales into dots that are more or less closer together and that forms the intensity of the grayshade.
In this case, I'm going for dithering so since my logo has two colors, the darker one is going to be black and the other one is hopefully going to be a little bit of a ligher gray.
Next, we have to decide, what we actually wanna do - if we wanna cut or engrave and what material we are using. There is a little database of common materials in the software and you also can select whether you like to engrave or cut.
Basically what happens - the laser head is moving around the surface that you are working with and the longer it stays in a spot, the deeper the engraving will be.
So faster speed means we're going to engrave most of the time, and slower speed and even doing multiple runs around the part - means we're cutting through.
And also the laser intensity itself can be controlled additionally to the speed but you could also just use a higher speed instead of decreasing the laser intensity.
The thing about these settings in the end will be that you will have to try things out yourself.
Every material will be different and you probably have to build your own list of settings over time what works for you and what not.
So, I am using the wood settings to engrave this part. Also I have to set the dimensions for the engraving, in this case, I want a 2 by 2cm large logo, because the plywood is quite small. And finally I'm confirming this.
The last thing to do here before we can start engraving, is to adjust the laser beam focus to the surface of the part.
So now it's the right moment to put my protective goggles on again and I connect the machine to power, and connect the the USB cable to the computer.
Then I push the push the power button on the machine, which is the left one for at least two seconds. It's going to home and now it's ready to connect to the computer.
And in the software, I am selecting the COM port and hit connect. So it should give you a signal that it's connected.
Now, let's move the laser head to the center using the arrow buttons here in the software.
And then, you can click the laser button, which will enable the laser but at the lowest energy so it won't burn anything and you can just adjust the focus. Of course I'm still doing this with the protective goggles on.
I am putting the plywood part underneath the laser and then I am using the focus ring at the laser head's end to make the laser dot as small as possible.
Finally, bring the laser point to the position, where the lowest left corner of the engraving area should be and then hit the set origin button to save this.
You can also check your sizing and orientation of the part by clicking this square button. That's going to run the laser around the area that is going to be used and so will show you if you have to realign the part or resize it.
Ready to go? I'm clicking the start button to start the engraving process.
Looking at the result of this engraving, the logo looks nice and sharp, maybe the laser power was set a bit too high but this is something you can try out and adjust using test pieces and then going for the final run once you're sure.
So this was the end to end engraving example, which hopefully shows, that the process, the usage is really quite simple and straightforward - and it's also a lot of fun!
Further on I did a bunch of laser cutting tests, this time not in the studio - because of the smell and smoke being generated. So let's have a look at those.
The 3mm Plywood worked more or less well. I had to make some tests to find the right settings first.
In the first couple of runs, the laser didn't manage to cut through the plywood and I was wondering why the material was sweating out so much amber and dirt.
So I decided to dry it for a few hours in the kitchen oven to remove as much water as possible. And this improved the final result quite a lot. I got a lot less smoke being generated and the laser finally cut through the material completely.
It's still pretty dirty though. These plywood boards really seem to soak up the environment humidity like crazy so they need to be dried every time before you can cut them.
The final assembly of this chess figure shows, that there is still a bit of play in the cuts, so adjusting the scale might be neccessary for a tighter fit and this may also have to do with the laser focusing and how much material is burnt away.
The second test I wasn't sure if this would be a good idea but I tried the foamboard anyways and you can see, the result is pretty disgusting. A lot of burned material, the corners are melted and the laser barely cut through the material. Probably not the best material for cutting with lasers.
The third cutting test was with the hobbyglass and I had no idea if this would work but you can see, the laser isn't even doing anything with the material, so it just went through the plastic leaving no harm.
After doing some more research, I figured that it will probably require a CO2 laser to cut materials like acryllic but that is a completely different category of devices also in terms of price.
Test number four was with a few sheets of normal copy paper. I cut a circular ornament, this was really the first time I felt I was going to have a really beautiful result and you can see, this is really nice. So with a little bit of a thicker paper, this would make nice ornaments for the christmas tree,
In the meanwhile, I ordered some sheets of 2mm balsa wood, which I hoped would make the laser cutting a bit easier and this time.
I took some a phone stand model and tried different settings. After going way overboard with the intensity, I found that 2mm balsa already cuts through at 1000mm/minute at full power.
So, concluding, I can say, I had a lot of fun with this machine so far, the results are really nice if you find the right settings for the material. The software is easy to use and I'm really curious about using Lightburn for some more advanced designs.
The build quality of the device is more than I expected for the price and it's really flexible mainly because of the way how it is designed, so you can put it on any surface easily. And it's powerful enough for most usecases.
Now the bad things are mainly it's limited working area, that's by design, there is also a larger version, the Ortur Laser Master 2 if you need more workspace.
The other bummer is certainly the missing SD card slot. I wish it would have the option to run it without a computer.
Besides that, I think's a good choice for getting into this hobby.
I'm happy to test more materials and scenarios so don't forget to leave a comment what you would like to see happening, I'm open for crazy stuff, just send me your ideas.
That's it for today, see you next time.