I’ve talked about installing bed leveling probes in quite a few videos but we never talked about that his whole auto bed leveling process is pretty slow by default. In this video, we’ll bring the time for bed leveling a 3x3 mesh from 73 seconds down to astonishing 29 seconds and an 8x8 mesh will be done in under two minutes.
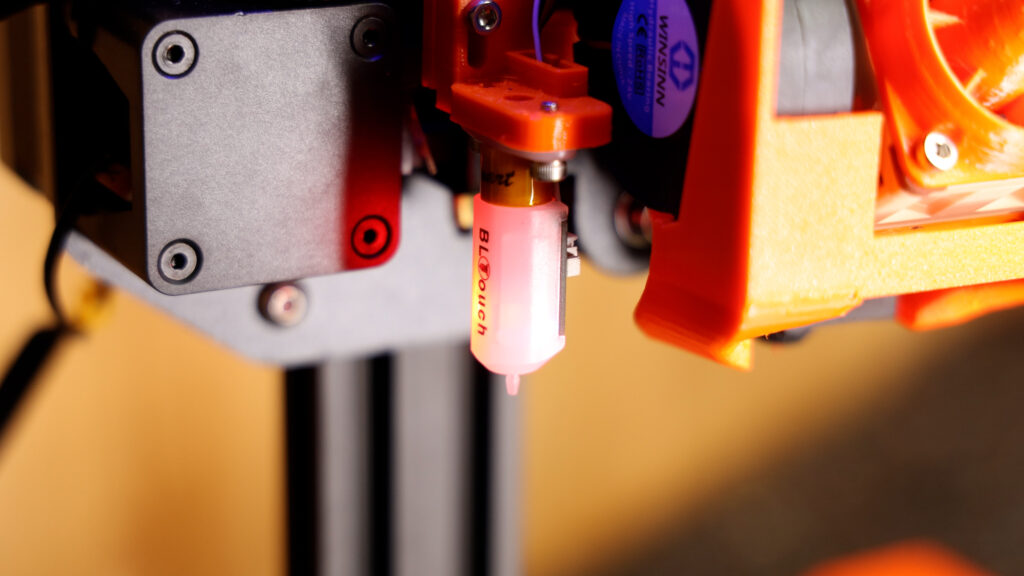
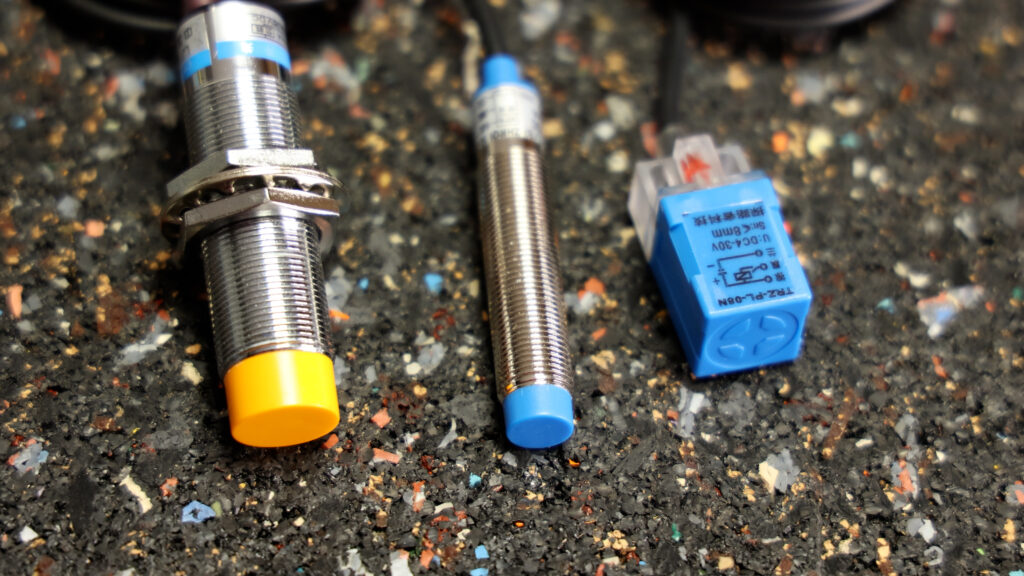
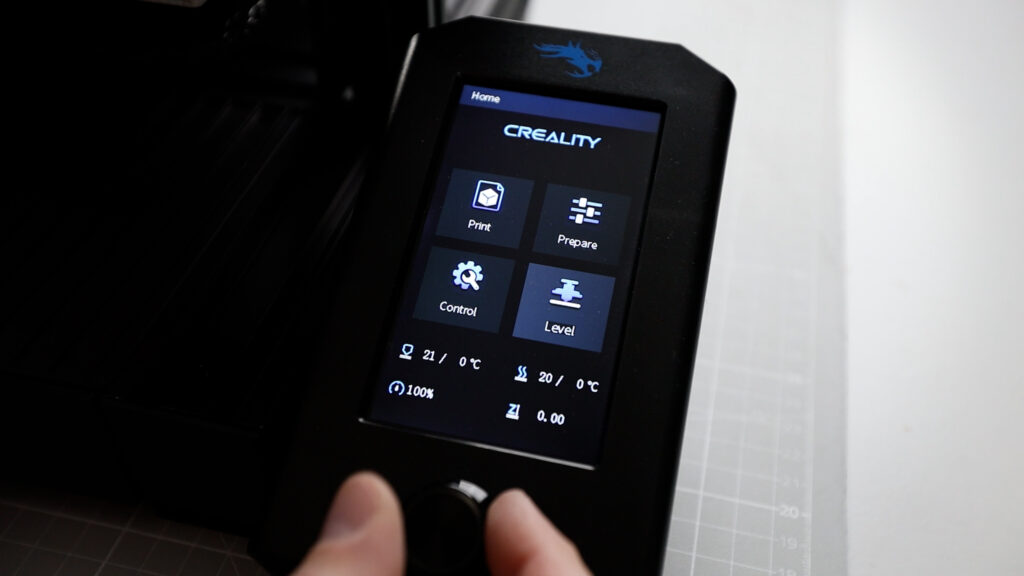
When you’re installing a BL-touch, a CR-touch or another probe like this inductive probe on a 3D printer, most likely you also will have to make some changes in the firmware of the printer. At least you will turn on the probe in the printer menu if your firmware already supports a probe.
However, since most of these printers run Marlin firmware in a more or less default configuration, enabling these probes will work but sometimes will give you not the best experience for two main reasons.
First, by default, the bed leveling is only doing a 3x3 mesh, which can work but it’s leaving a lot of space unprobed where there could be differences in height as I figured at least for my printers. So you probably want more mesh points.
I am using an 8x8 mesh on my Ender printers, which we’ll see in a second gives me quite accurate results but you could also use 4x4 or 5x5, which should already be fine enough.
Secondly, the probing procedure itself has some really slow default settings so it takes quite a while from starting the probing to the actual start of the print.
| Mesh type | Time (s) | Variance(mm) |
| 3x3 | 73 | 0.16 |
| 4x4 | 118 | 0.214 |
| 5x5 | 243 | 0.197 |
| 8x8 | 412 | 0.257 |
By default, making a 3x3 mesh with the BL-Touch takes this Ender 3 v2 about 73 seconds. A 4x4 mesh is done in 118 seconds and my 8x8 mesh for example takes whopping 412 seconds. We want to reduce this quite a bit.
The variance for all of these default speed tests seems to be around 0.25 mm or less.
Variance is the absolute difference between the highest and lowest measured point and we should aim not to increase that significantly if we make probing faster.
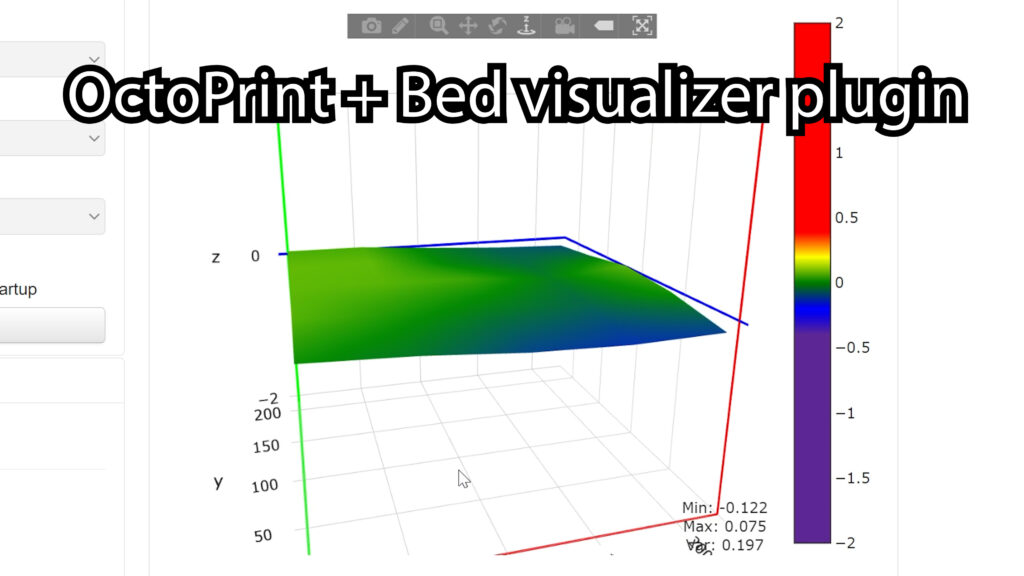
For visualizing the mesh, I am using Octoprint with the Bed Visualizer Plugin.
I’m gonna make some assumptions at this point:
You know how to build Marlin Firmware for your printer either using PlatformIO, Arduino IDE or the firmware factory.
You know how to enable auto bed leveling for your probe in Marlin firmware.
AND You also know how to flash that firmware to your printer
If any of those things is unclear to you, I have videos for each of these topics on my channel, the links are at the end of this blogpost, so you can watch them as a Kickstarter.
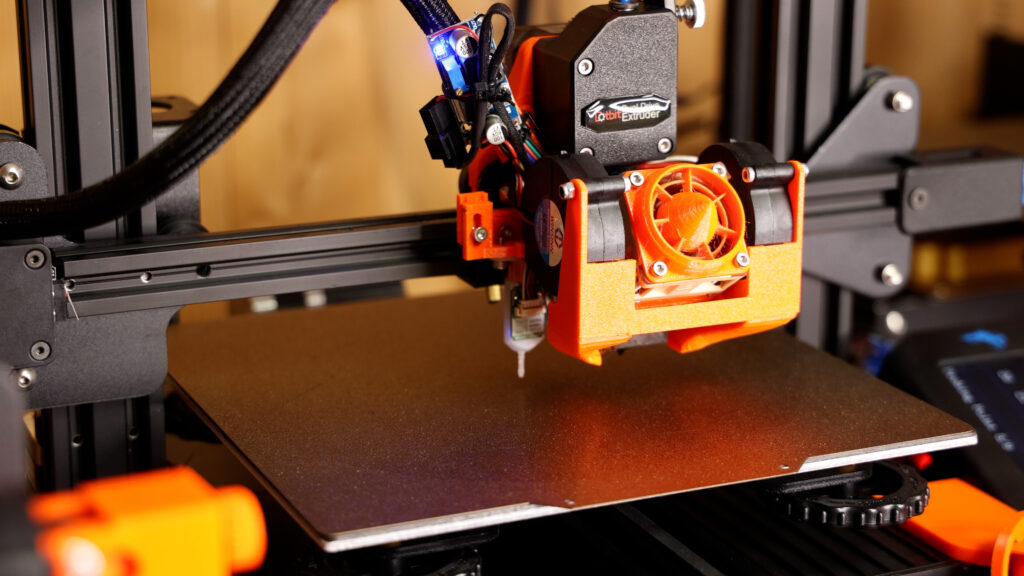
Let’s have a look at the first problem that affects the probing speed, specifically for the BL-touch and the CR-touch sensors.
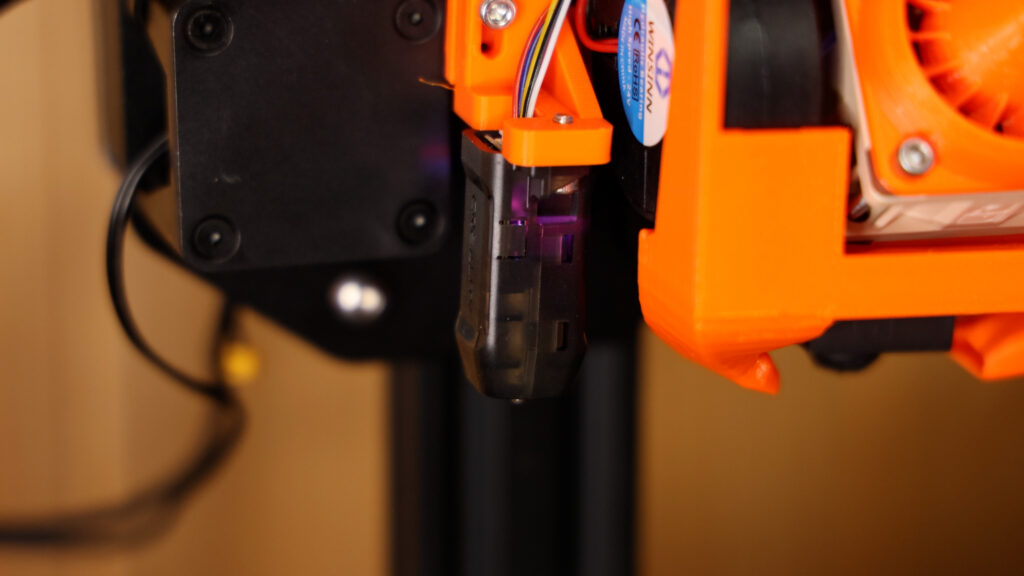
These sensor have a retractable nozzle that is used to probe the z-distance. By default, this nozzle gets retracted fully for every single probing point.

This makes probing quite slow, so the first thing we want to enable in our configuration is a switch called BLTOUCH_HS_MODE in Configuration_adv.h. That’s the BL-Touch highspeed mode - sounds promising.

Just this little change will make probing quite a bit faster because the probe is not fully retracted for every single point but the sensor will immediately raise the z-axis when the probe triggers and so it will stay down and the printer can continue moving to the next point much faster and then can start probing for the next point also much quicker.
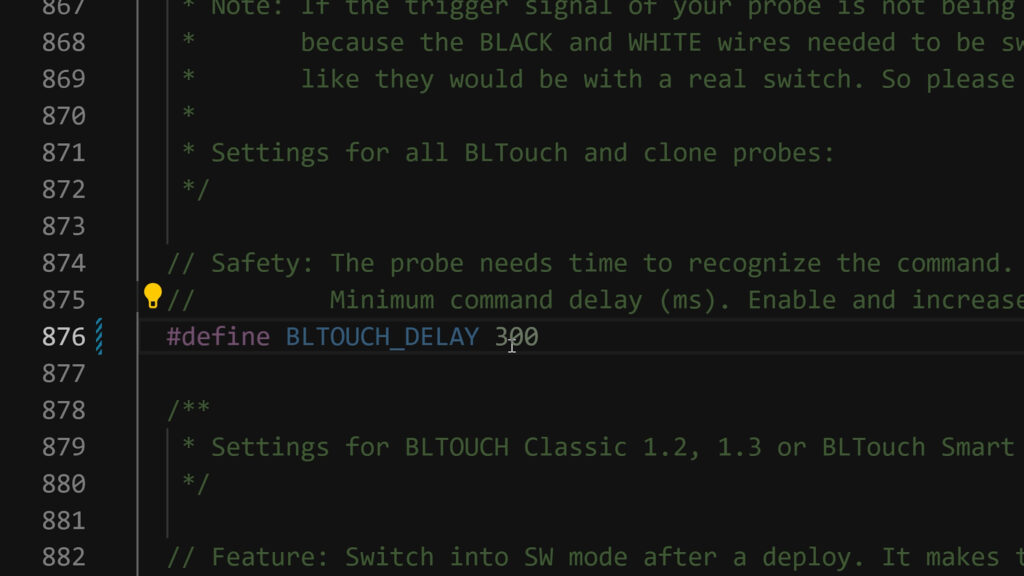
The second setting, I would change in Configuration_adv.h is the BLTOUCH_DELAY, which I have set to 300 instead of the default 500. This will make the BL-Touch and CR-Touch react slightly faster to commands. It’s a little improvement.
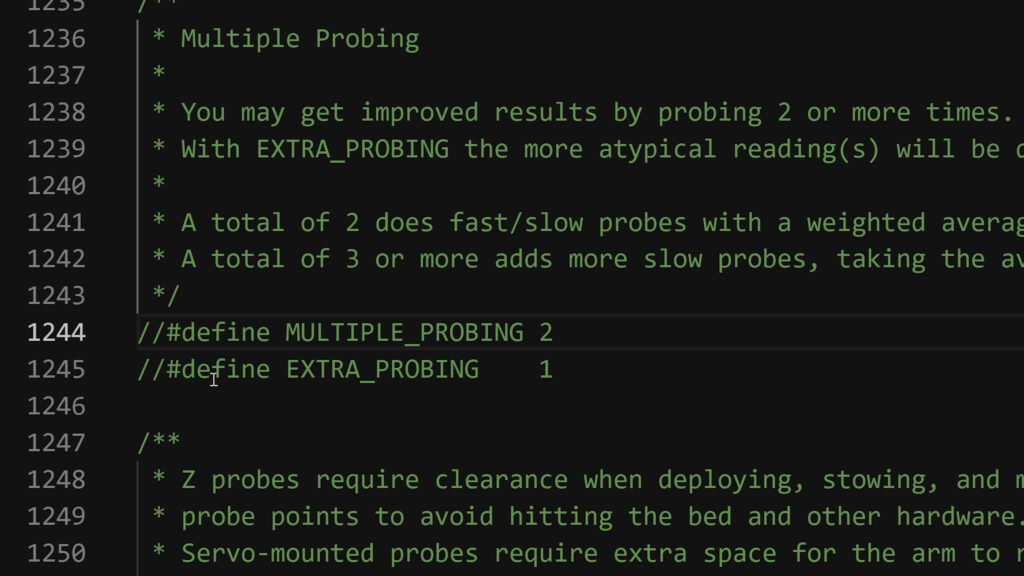
Another tip - In some printer configurations, there might be the MULTIPLE_PROBING setting in Configuration.h enabled. We’ll make sure this is disabled, otherwise the printer would at least do two probings for each point, a faster one and a slower one. We will therefore disable MULTIPLE_PROBING in Configuration.h to just go for the fast probing.
With these changes in place, the printer will do the 3x3 mesh already in 59 seconds instead of the previous 73 seconds, that’s 19% faster.
| Mesh type | Time (s) | Variance(mm) |
| 3x3 | 59 | 0.179 |
| 4x4 | 93 | 0.209 |
| 5x5 | 134 | 0.187 |
| 8x8 | 310 | 0.264 |
Variance for all measured mesh sizes is at 0.26 or below. But we’re not done yet, we’ll reduce the time even further.
Let’s now have a look at the Z probing speed.
Z-Probing speed is the speed at which the probe will go down towards the bed to get triggered and how fast it gets raised thereafter.

There is a fast probing speed and a slow probing speed.
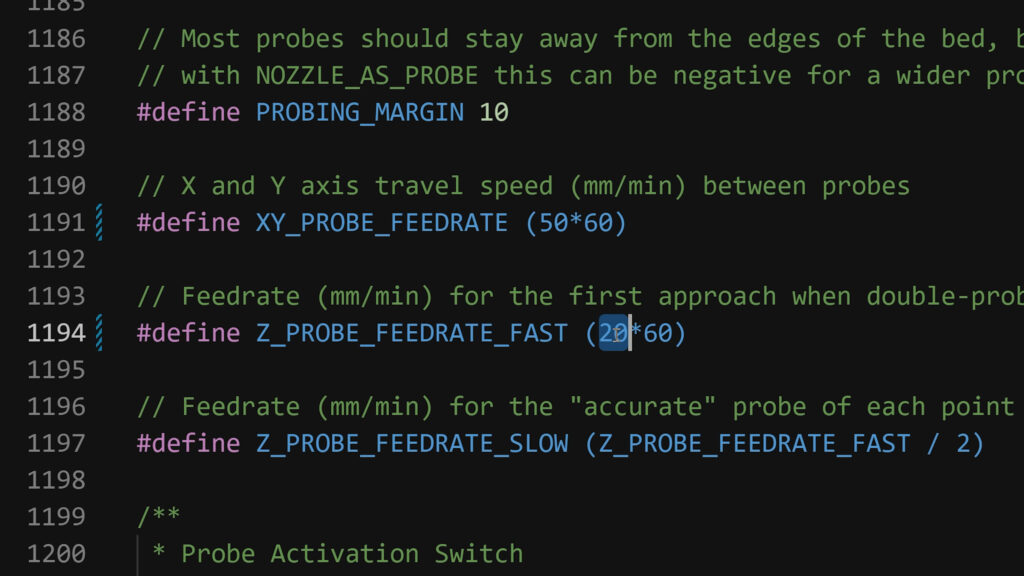
Since we already disabled the option MULTIPLE_PROBING, we’re just left with the setting Z_PROBE_FEEDRATE_FAST in Configuration.h, which we are now setting to 20*60 instead of the default 4*60.
These values represent mm per minute opposed to other settings in Marlin that represent mm per second as you’ll see in a second. I know it’s a bit strange but that’s the reason.
Having set the Z-Probe feedrate to this higher value you should also adapt the printer’s DEFAULT_MAX_FEEDRATE setting in Configuration.h for the Z-axis to this higher value. If you don’t do that, the higher z-probing speed will not take effect because this DEFAULT_MAX_FEEDRATE ultimately will limit all movements of a given axis to those maximum values.
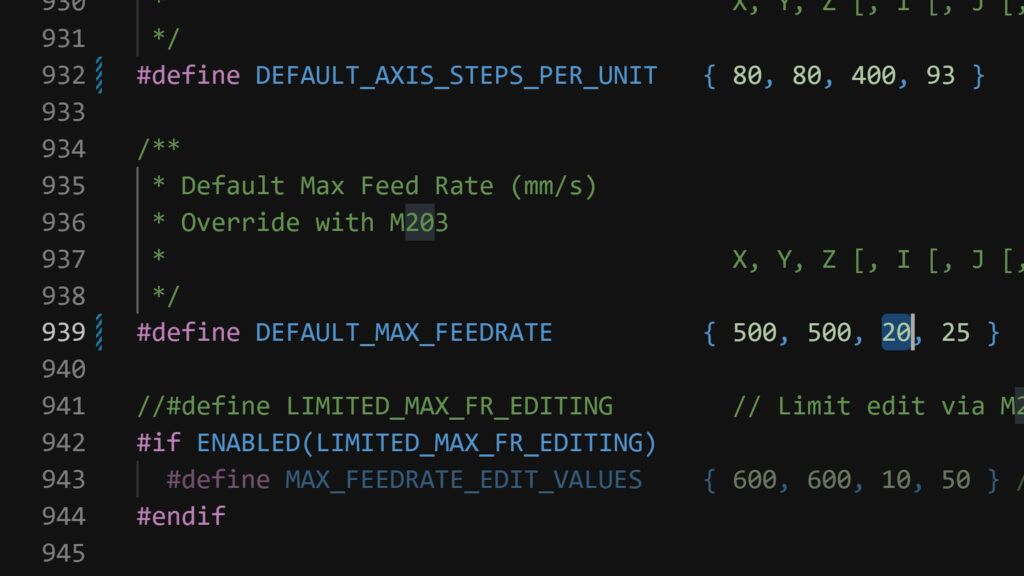
I am setting the z-max feedrate to 20 mm per second, so it will correspond with our Z_PROBE_FEEDRATE_FAST setting of 20*60 mm per minute. Here you see, this value is about mm per second, the other one mm per minute.
By the way, the DEFAULT_MAX_FEEDRATE values are the only settings that you can later change with GCODE commands and which will get saved into the EEPROM. All the other settings mentioned in this tutorial are unfortunately hard coded in the firmware and require a rebuild and reflash if changed.
With these settings in place we do another build and flash to the printer and our probing time hasn’t changed. Why? because as I said, the Z_PROBE_FEEDRATE_FAST might be limited by what is set in the EEPROM of the printer. The DEFAULT_MAX_FEEDRATE is only applied when the EEPROM gets a reset to the default values. That can happen if you flash a new firmware but it doesn’t have to. Let’s check the current values for the maximum feed rates by sending a M203 command to the printer.
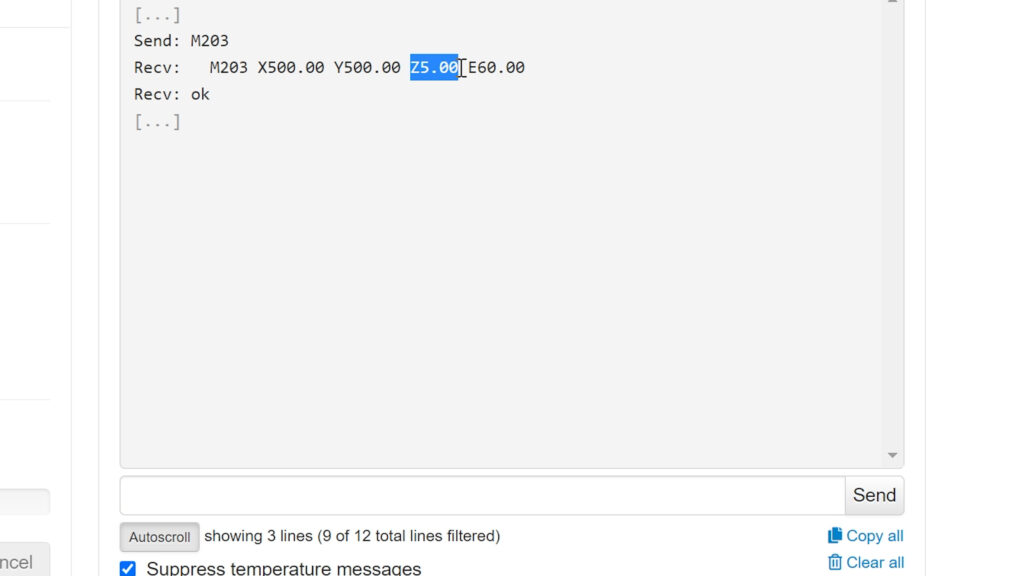
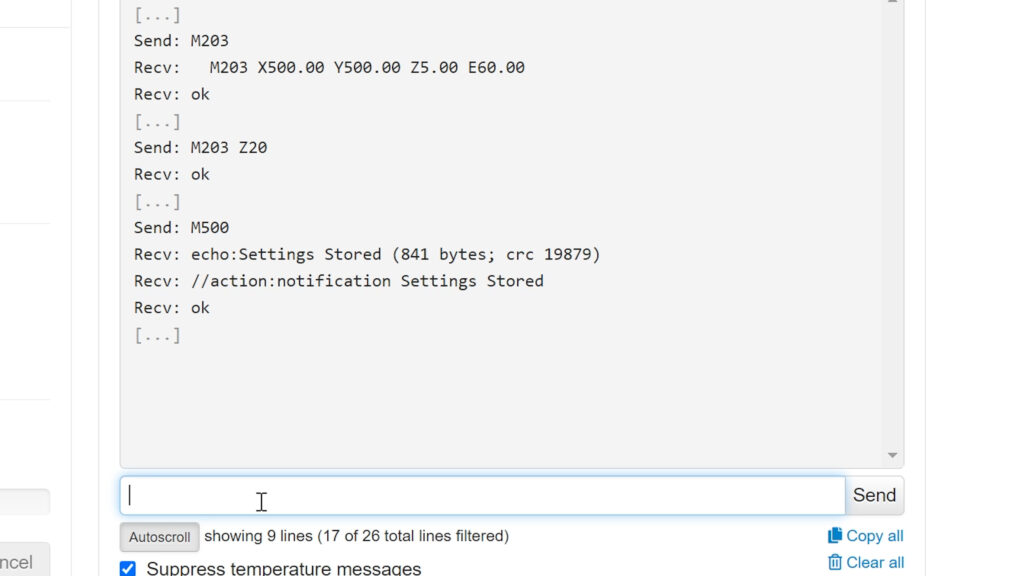
Here you go, the maximum feed rate for Z is still at 5 mm per second because that it what was saved last to the EEPROM, so let’s try to set it to 20 as we actually want it to be and then save it with a final M500.
You probably realize that by changing this max feed rate value in the EEPROM we can actually change the fast probing speed for the z-axis to any value equal or below what we have set to Z_PROBE_FEEDRATE_FAST. I will use this to try out multiple z-probing speeds without re-flashing the firmware and I will compare the change in variance of the probing results.
| Mesh type | Time (s) | Variance (mm) |
| 3x3 | 33 | 0.239 |
| 4x4 | 47 | 0.249 |
| 5x5 | 64 | 0.237 |
| 8x8 | 135 | 0.275 |
| Mesh type | Time (s) | Variance (mm) |
| 3x3 | 32 | 0.237 |
| 4x4 | 45 | 0.257 |
| 5x5 | 61 | 0.232 |
| 8x8 | 127 | 0.277 |
| Mesh type | Time (s) | Variance (mm) |
| 3x3 | 31 | 0.228 |
| 4x4 | 44 | 0.249 |
| 5x5 | 60 | 0.235 |
| 8x8 | 126 | 0.275 |
So for a Z-feedrate of 10 mm per second we get the probing time of a 3x3 mesh down to 33 seconds with a variance of 0.239 and setting it to 15 gets us 32 seconds at a variance of 0.237. Finally, a rate of 20 gets us 31 seconds of probing time with a variance of 0.228.
Looking back at all these measurements, I would conclude that the sweet spot of z-probing speed regarding the variance and the decrease of probing time is probably at of 10 mm per second and that value still gets me consistent first layer adhesion over dozens of prints so far.
As a last thing, let’s try to push up the X and Y probing speed which the printer uses to move the nozzle to the next probing point after a probing has been done. We can save some time there too.
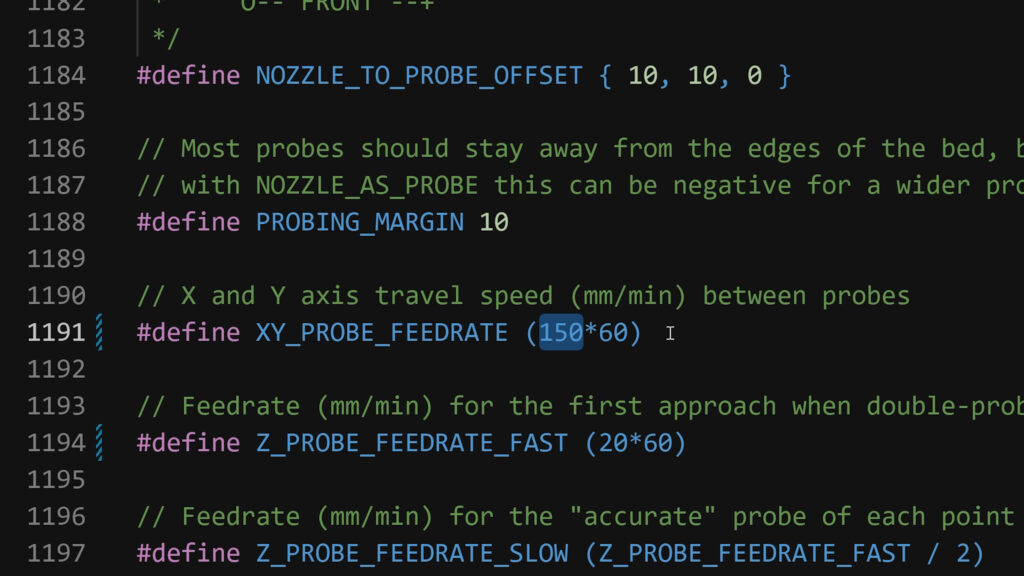
I am setting XY_PROBE_FEEDRATE in Configuration.h to a value of 150*60 mm per minute, which should be achievable.
I also figured that the probe moves quite a bit up after each point, there is a setting that influences the amount of clearance between probes and I think we can go a bit lower to save some time.
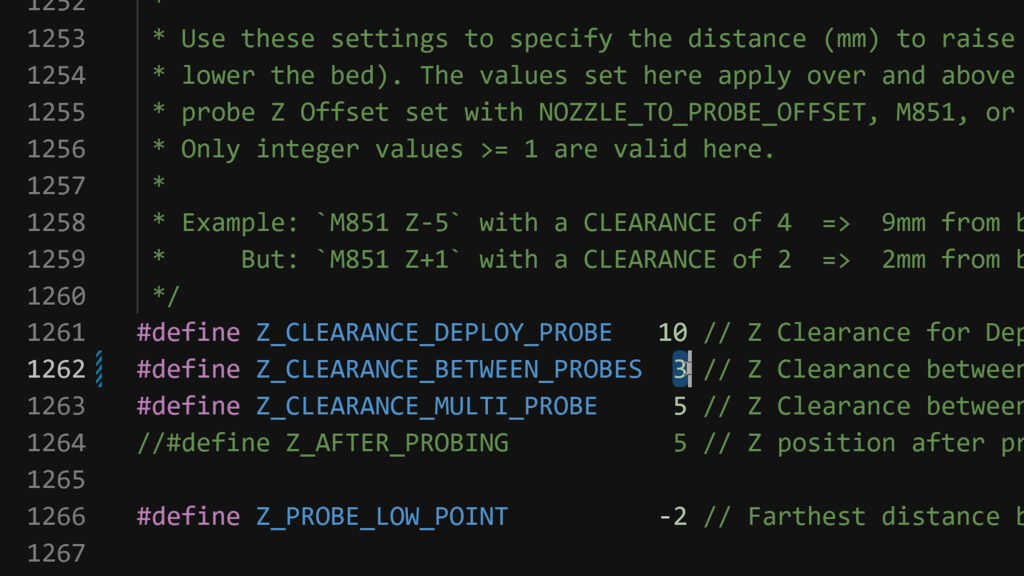
So I am setting Z_CLEARANCE_BETWEEN_PROBES in Configuration.h from 5 to 3.
After rebuilding and reflashing, our total probing time for the 3x3 mesh at a probing speed of 10 mm per second is at 29 seconds, the variance is still low at 0.21 mm.
| Mesh type | Time (s) | Variance |
| 3x3 | 29 | 0.21 |
| 4x4 | 41 | 0.247 |
| 5x5 | 55 | 0.207 |
| 8x8 | 110 | 0.255 |
The probing times for a 4x4 mesh are 41 seconds and 5x5 is at 55 seconds and a crazy large 8x8 mesh is done in 110 seconds, so under two minutes, I kept my promise.
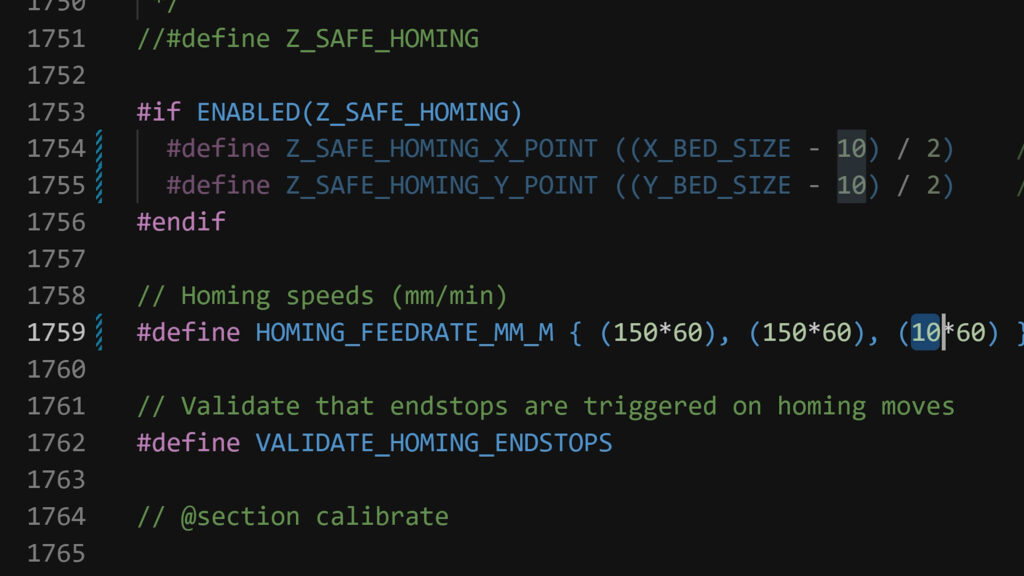
There is a bonus setting - I have changed the homing feedrates with HOMING_FEEDRATE_MM_M in Configuration.h to higher values of 150*60 mm per minute for X and Y and 10*60 for Z so Homing is now also much faster.
Here is an overview of all the settings and their corresponding values I did in the two configuration files:
Configuration.h
- MULTIPLE_PROBING disabled (comment out with //)
- Z_PROBE_FEEDRATE_FAST 10*60
- DEFAULT_MAX_FEEDRATE { 500, 500, 20, 25 }
- XY_PROBE_FEEDRATE 150*60
- Z_CLEARANCE_BETWEEN_PROBES 3
- HOMING_FEEDRATE_MM_M { (150*60), (150*60), (10*60) }
Configuration_adv.h
- BLTOUCH_HS_MODE true is enabled (comment in by removing leading //)
- BLTOUCH_DELAY 300
I've also created a firmware factory configuration of my printer so you can re-use that here: https://www.firmwarefactory.net/AddBuildDefinition/39c0ee82-7876-4ab5-802c-83342584d488
I hope you found this article helpful, if so, please treat me with a like, subscribe to my newsletter here and probably watch another video from my channeI here.
I see you in the next one - bye!
VIDEOS TO WATCH
How to build Marlin firmware:
On a PC - https://youtu.be/Mjhp_P-Yzv0
On a Mac - https://youtu.be/_tnVl4X2p20
Using the Firmware Factory - https://youtu.be/L9QcTNuHaaY
How to configure Auto Bed Leveling in Marlin (works for other printers also):
Ender 3 Pro - https://youtu.be/YsTGH5JvClM
SKR Mainboard - https://youtu.be/7le9L2LMY-U
Anet A8 (Marlin 1.X) - https://youtu.be/cdD4S-_0-wo
How to flash firmware to your printer:
Ender 3 v2 - https://youtu.be/C3td3wGPM8g
Ender 3 Pro - (8Bit mainboards) - https://youtu.be/RbbzsJBpEhc
Anet A8 - https://youtu.be/38PkynA1uGI
Printers with SKR Mainboards - https://youtu.be/0PEGNj5m90o
THE PRINTERS I USE: https://kit.co/danielcrosslink/the-3d-printers-i-use
MY MERCH: https://www2.crosslink.io/shop
BECOME A PATRON: https://www.patreon.com/crosslink
CHAT ON DISCORD: https://discord.gg/ne3J4Rf
BUSINESS INQUIRIES ONLY (OR IF YOU WANT TO SEND SOMETHING) - DANIEL@CROSSLINK.IO
FOLLOW ME:
INSTAGRAM - https://instagram.com/danielcrosslink
TWITTER - https://twitter.com/danielcrosslink
FACEBOOK - https://facebook.com/danielcrosslink
WEBSITE: https://www2.crosslink.io
The Music I use: https://www2.crosslink.io/es, AMAZING for YouTubers!
GEAR USED
https://kit.co/danielcrosslink/my-video-gear
Disclaimer: As an Amazon Associate I earn from qualifying purchases.