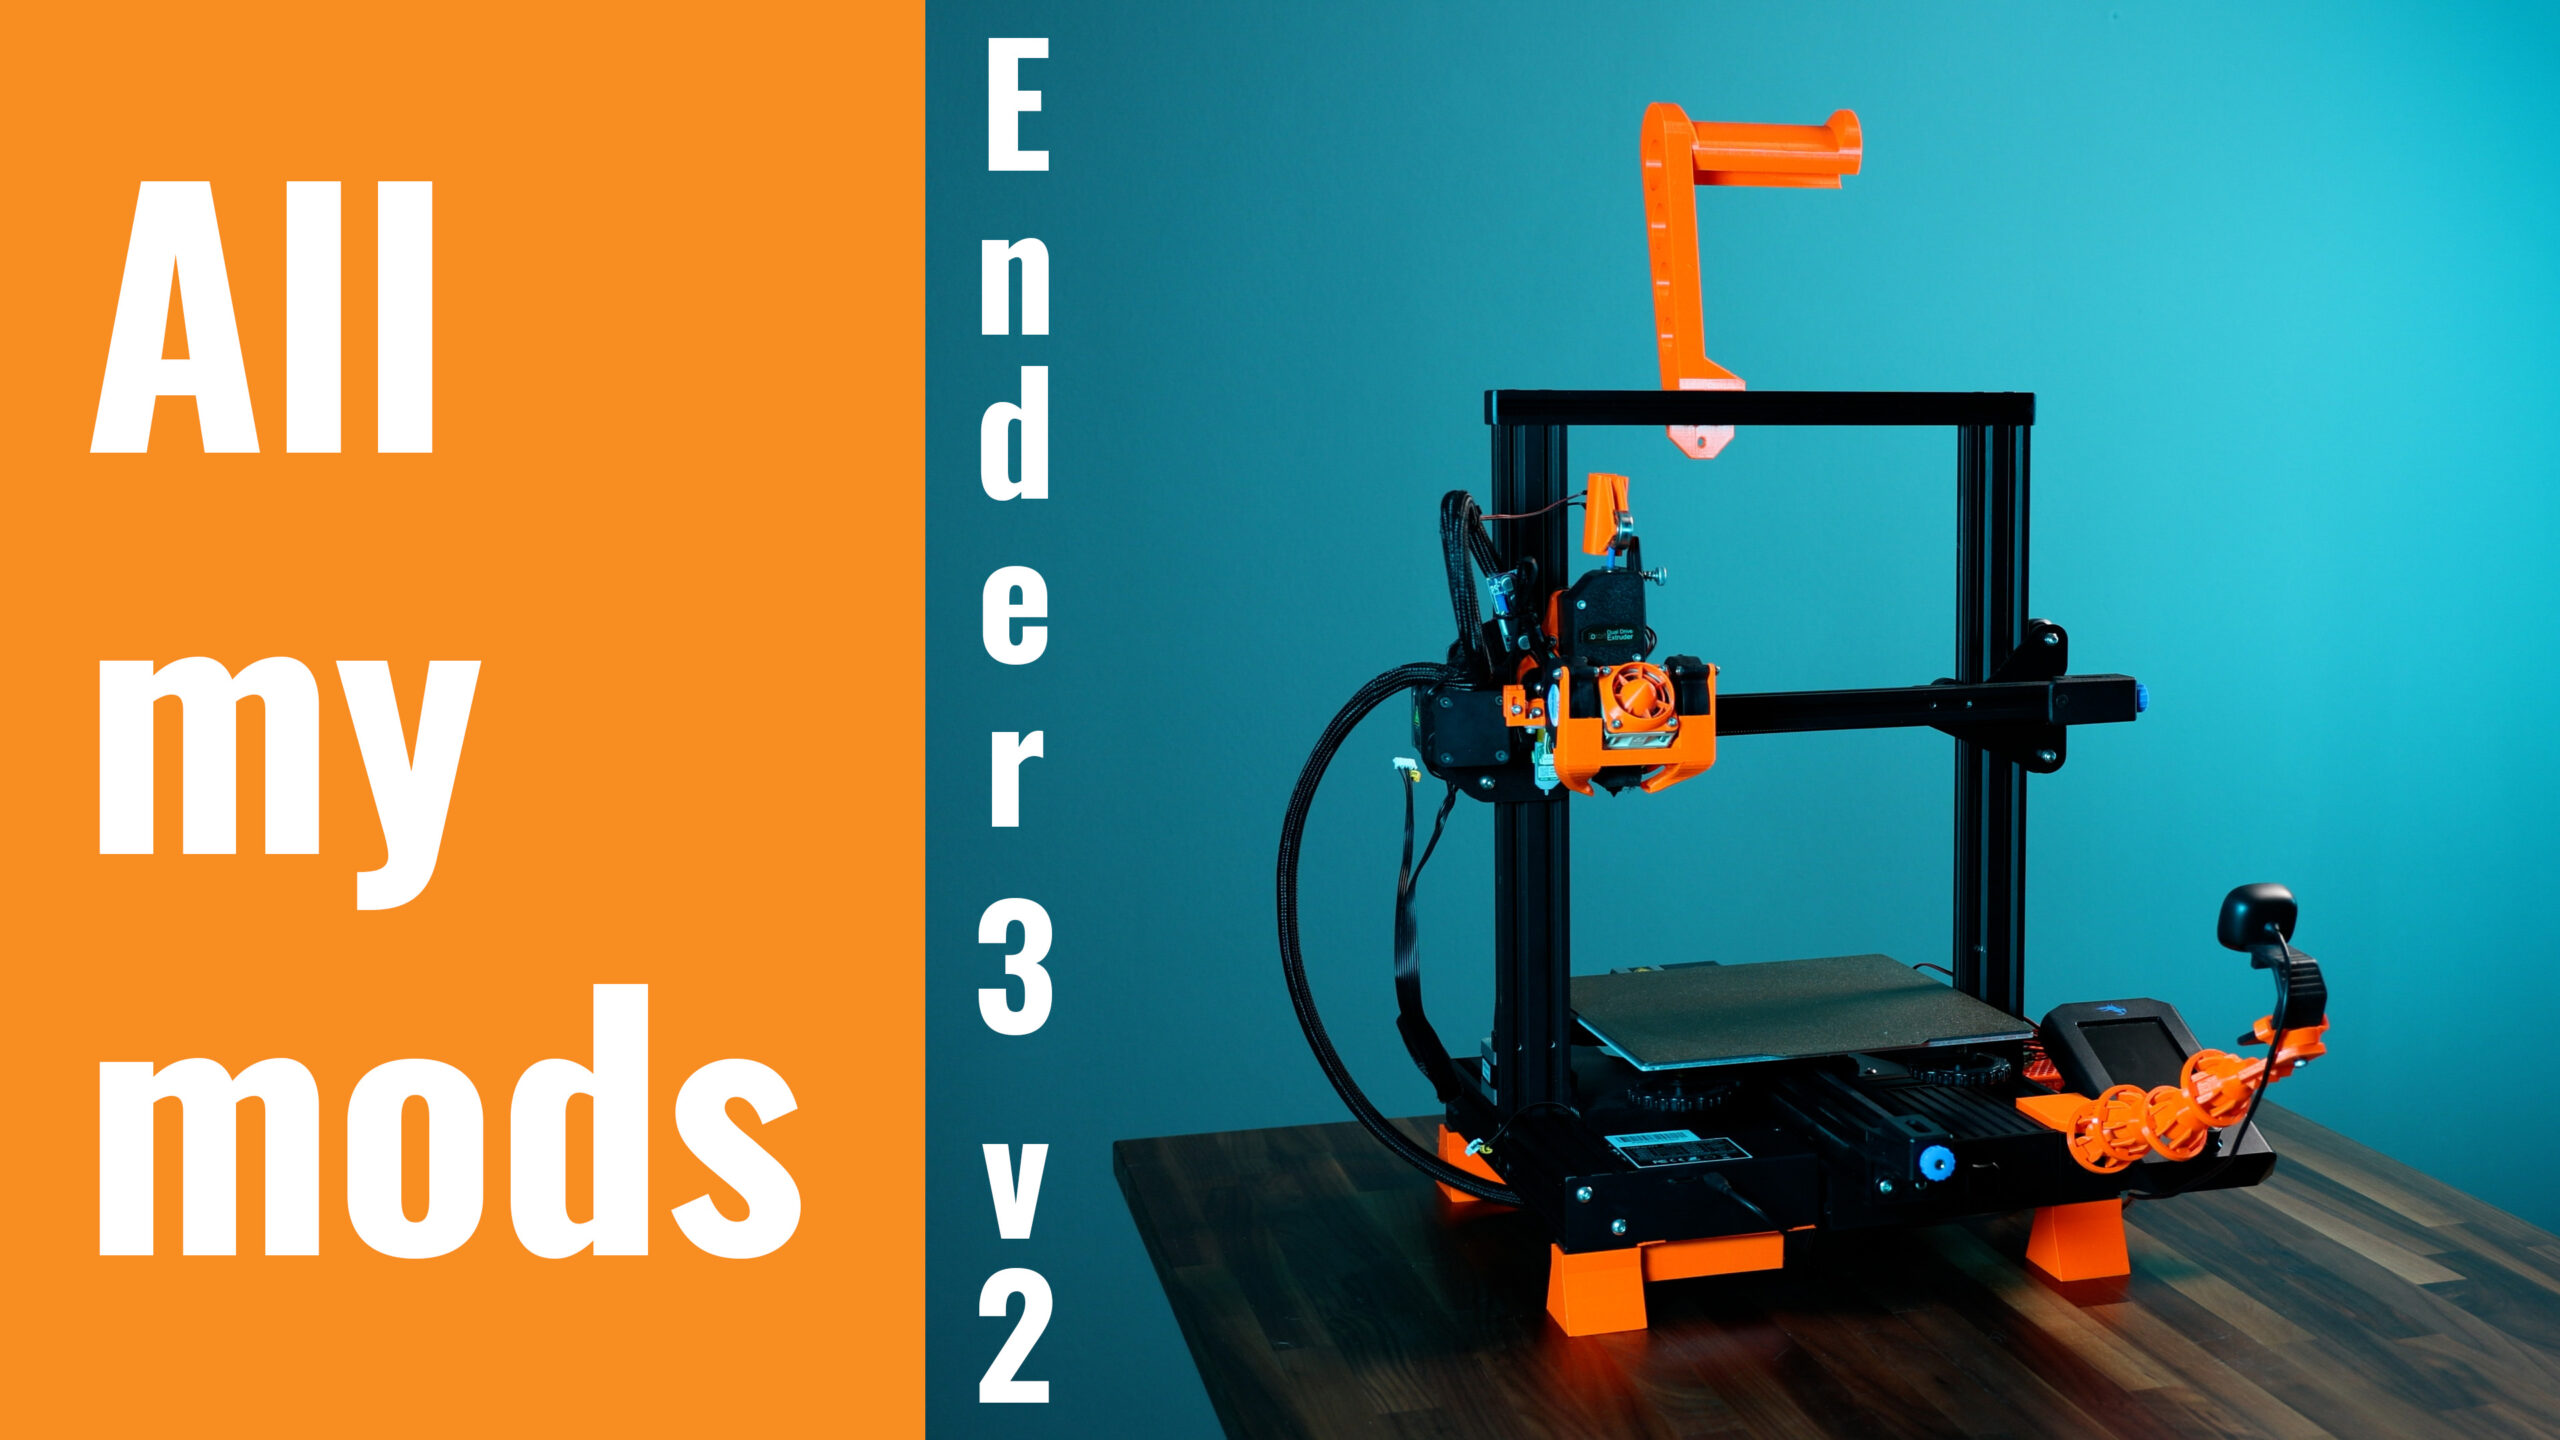
I got the Ender 3 v2 probably about a year ago and since then, I upgraded it multiple times to make this printer as reliable as possible and to get the best print quality.
So let’s go through the most important upgrades and mods I did on this Ender 3 v2.
As usual when we talk about upgrades and mods, links to all 3d printable parts and additional hardware are at the end of this blogpost and in the description box of the YouTube video.
Electronics case fan
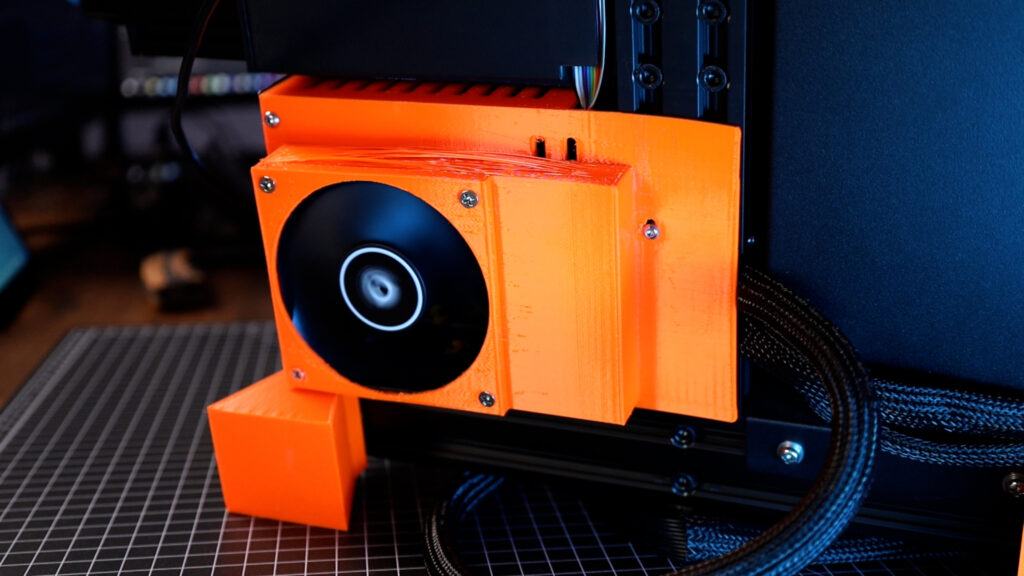
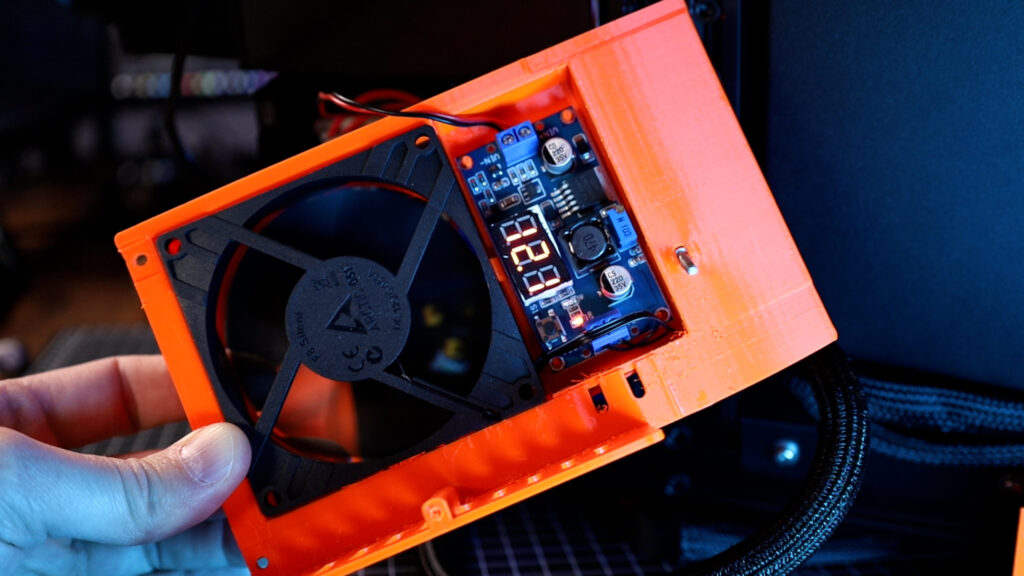
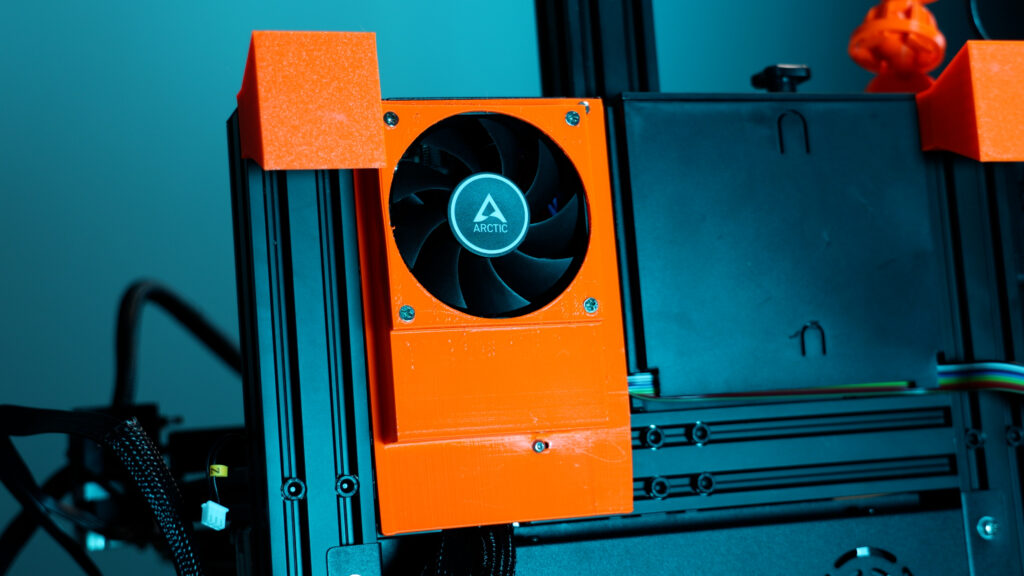
One of the first upgrades I did to this printer, believe it or not, was a new cooling fan cover for the electronics case.
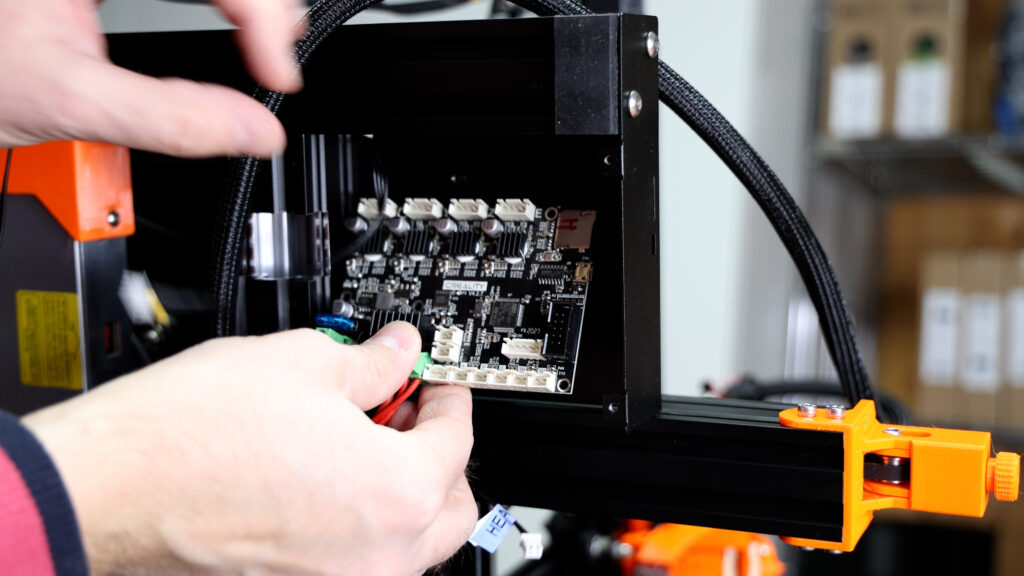
I had cooling issues with this printer and another Ender printer already and on two printers, when printing longer and at higher speed, I started to get layer shifts and the extruder motor stepper drivers on the mainboard eventually burned through. They simply got to hot. I swapped the mainboards and I added better cooling to all of my printers. That’s gonna save me the money for a new mainboard in the future.
This cover holds an 80 mm fan, it also has an area where you can mount a voltage regulator, just in case if your fan is 12V and the printer runs on 24v.
What is obvious - with this new case cover, the printer frame needs more clearance underneath.
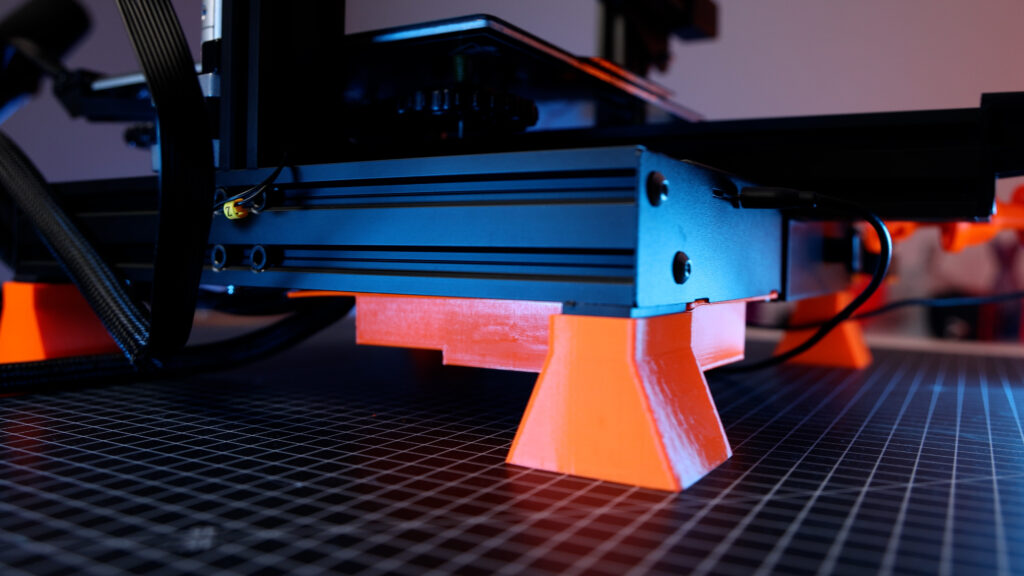
Raiser feet
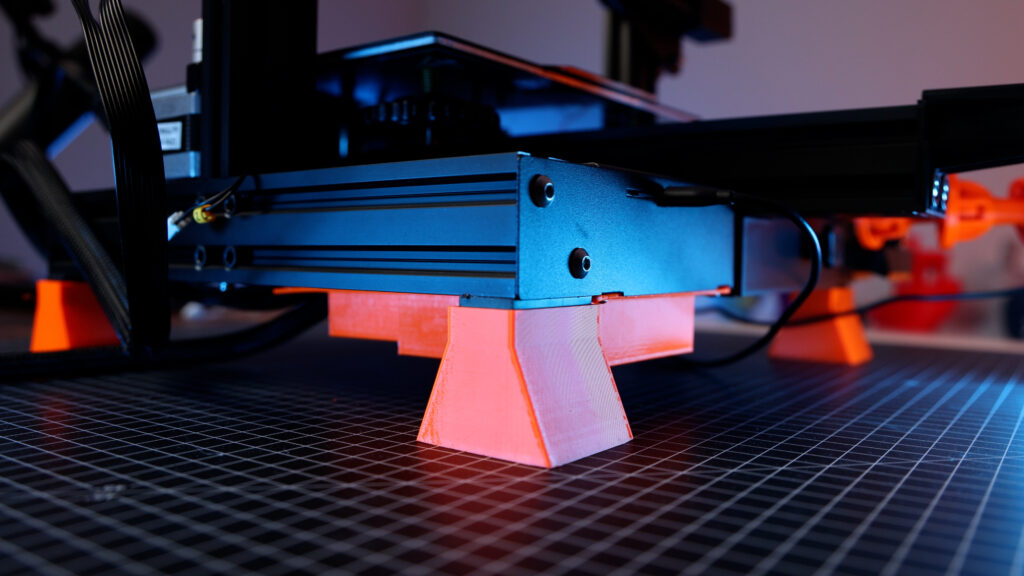
And that’s why i installed the second upgrade - raiser feets. Even if you don’t install a bigger electronics cooling fan it is highly recommended to raise - specifically the Ender 3 v2 - with some kind of feet, because both the case cooling fan and power supply fan are very close to the table surface and there could be some overheating when you print for a longer time or the environment is generally hotter.
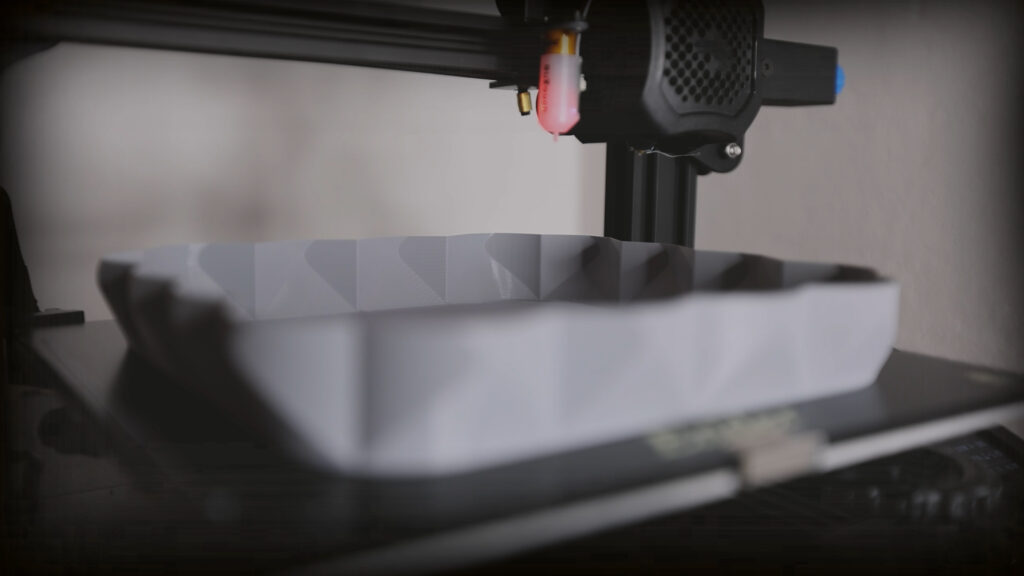
PEI coated flex plate with magnetic base
I already mentioned this in other videos, I really don’t like this coated glass plate that ships with the Ender 3 v2.
I wanted to have a solution that always works with all the materials I am using and I wasn’t really getting the results with the glass plate. I also wanted the same print surface on all of my printers, so I went with PEI coated magnetic flex plates on all of my printers.
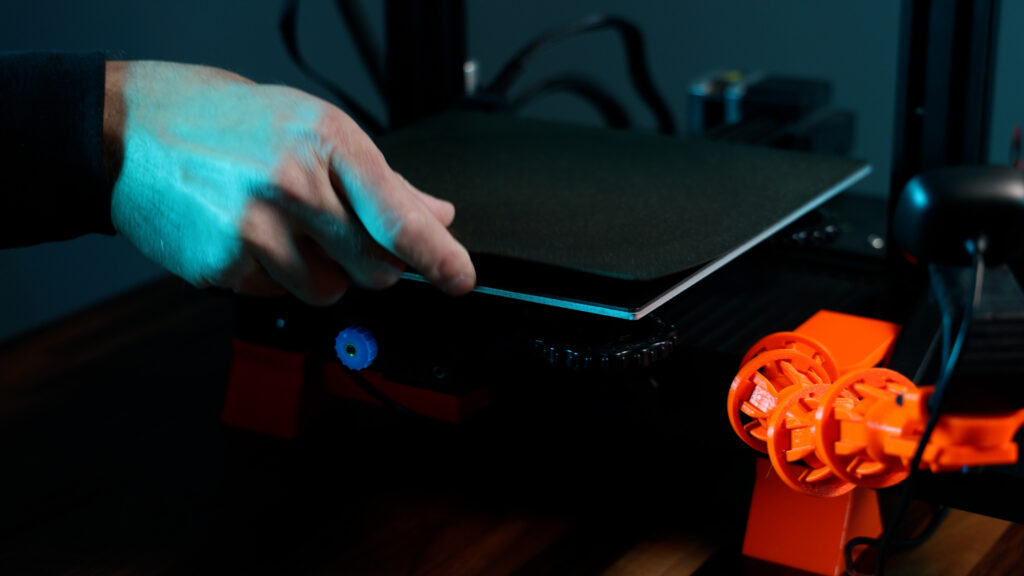
I am super happy with this solution, this stick super well during printing and as soon as the printer cools down a little bit, you can pop any print off this plate super easily.
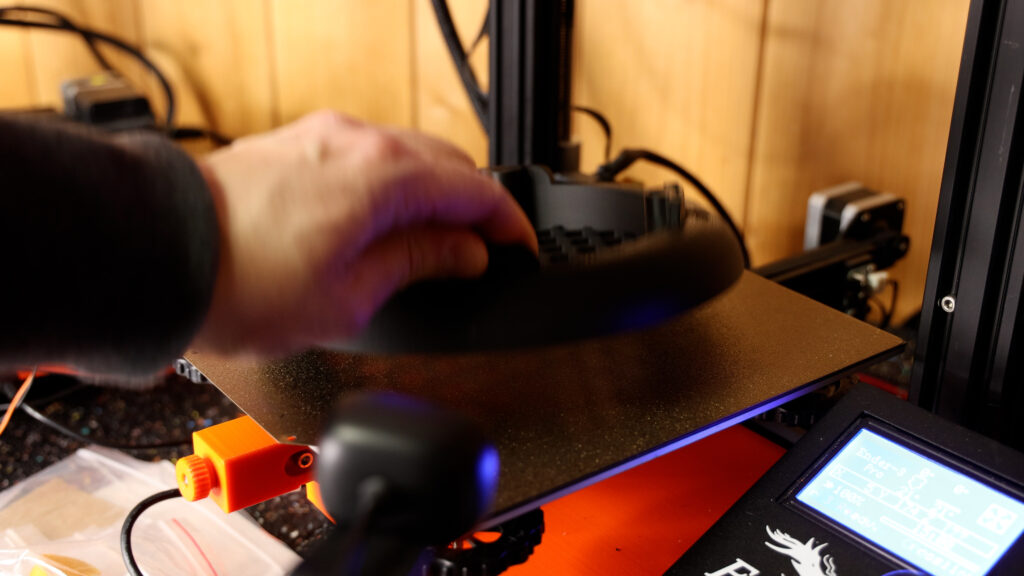
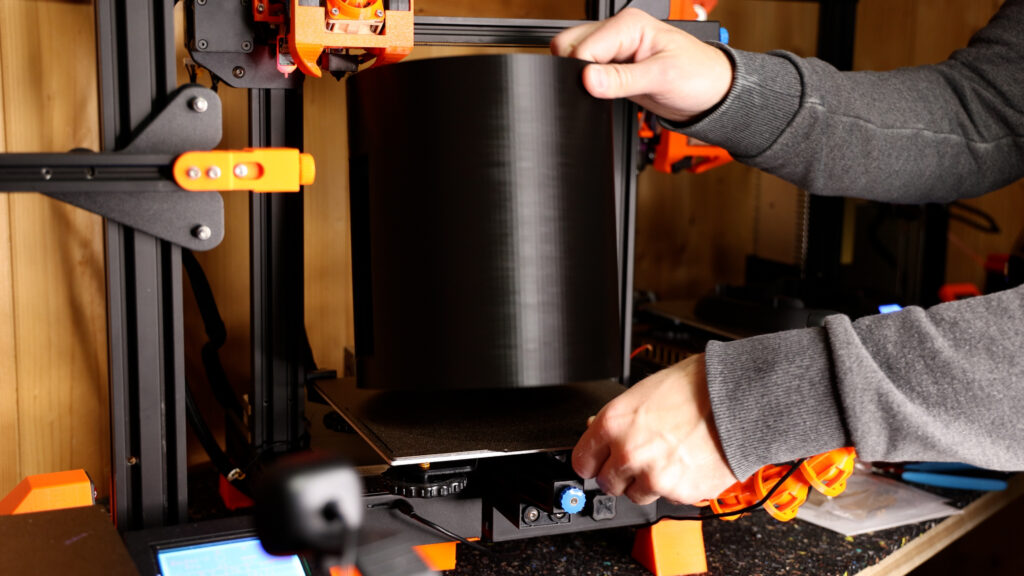
On the other hand with the glass plate, things might stick pretty well but even after cooling down, sometimes I needed to use force or blades to get things off the build plate - sometimes I did scratch prints, I’ve broken prints this way.
For me, this is the only solution that works consistently every single time.
BLTouch Bed leveling probe
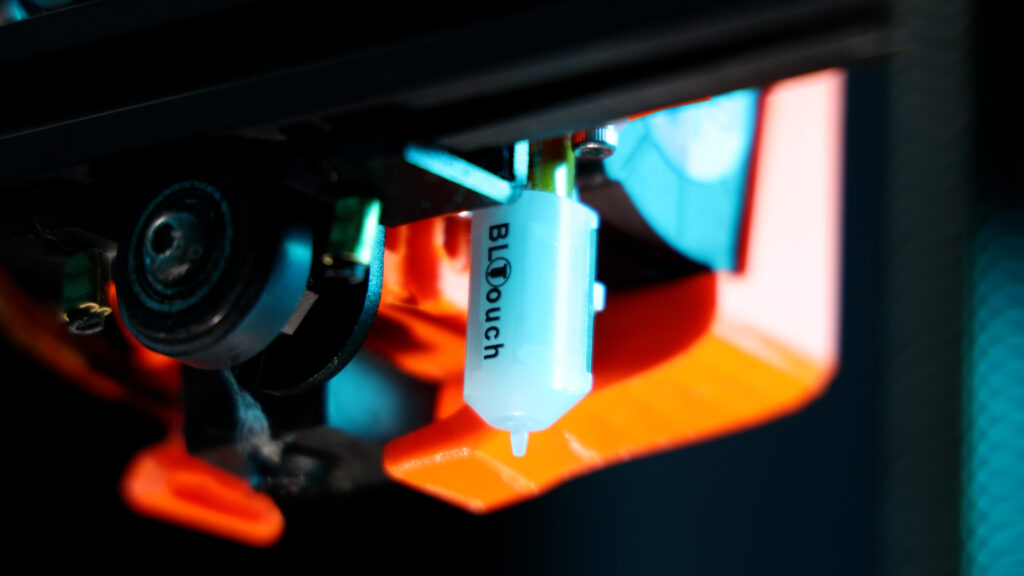
I will claim that having a bed leveling probe on a 3d printer is always better than not having one.
So, even if you perfectly adjust the corner leveling like you always have to do it on these printers - that means, you’re adjusting these four knobs so the print nozzle has the same distance to the print surface in all of these four corners - even if you do that, it’s very likely that somewhere on this printbed, the distance is going to be higher or lower.
And that’s why having a bed leveling probe is always going to be better because these little differences are going to become a make or break for first layer adhesion, especially, if you’re printing something really large.
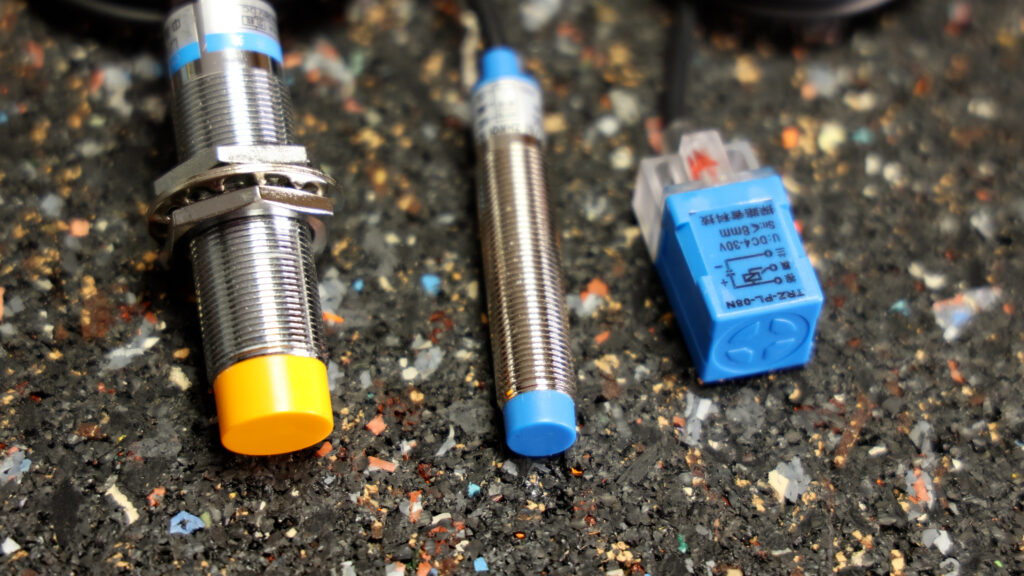
Whether you choose to get a BL-Touch, CR-Touch or an inductive probe like the pinda probe that’s going to work with this metal sheet, it doesn’t matter. All these probes are going to improve this printer and you will get better results.
Btw. if you have a bed leveling probe and you’re kind of annoyed that probing these 9 or 16 or more points is taking quite a long time before the print starts, I linked a video and a blogpost here, where I explain the firmware configuration to make this a much faster process.
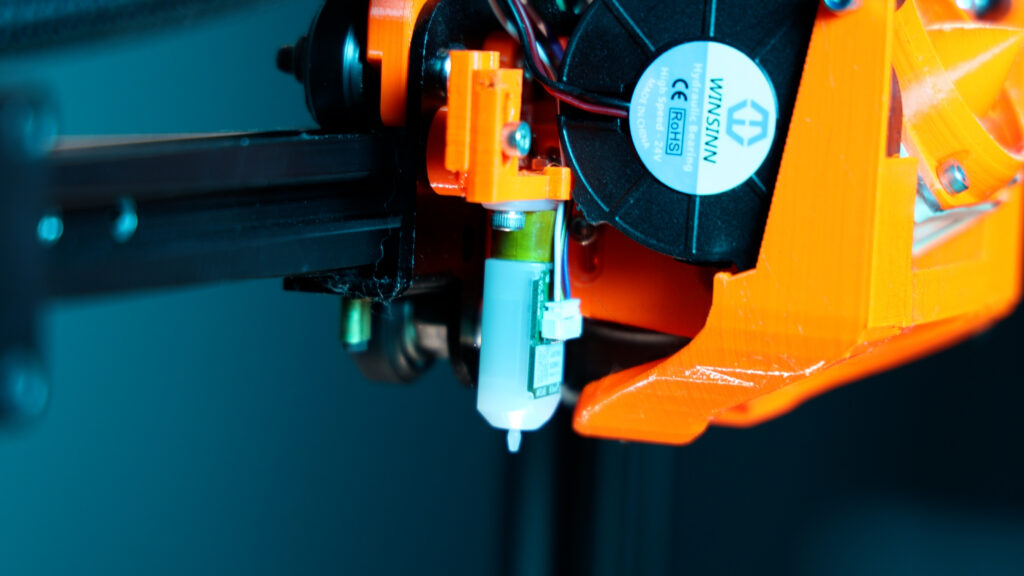
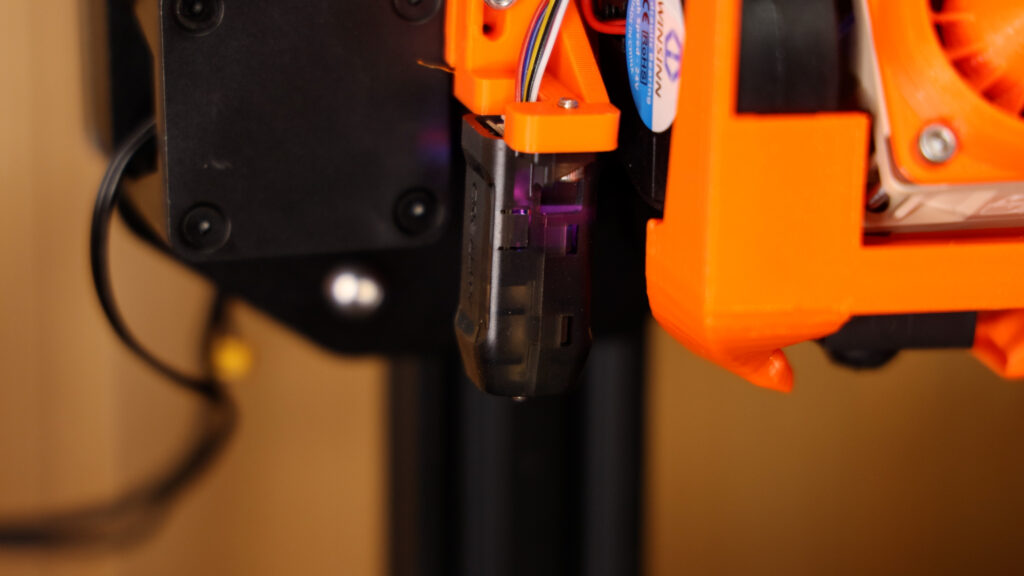
Filament sensor

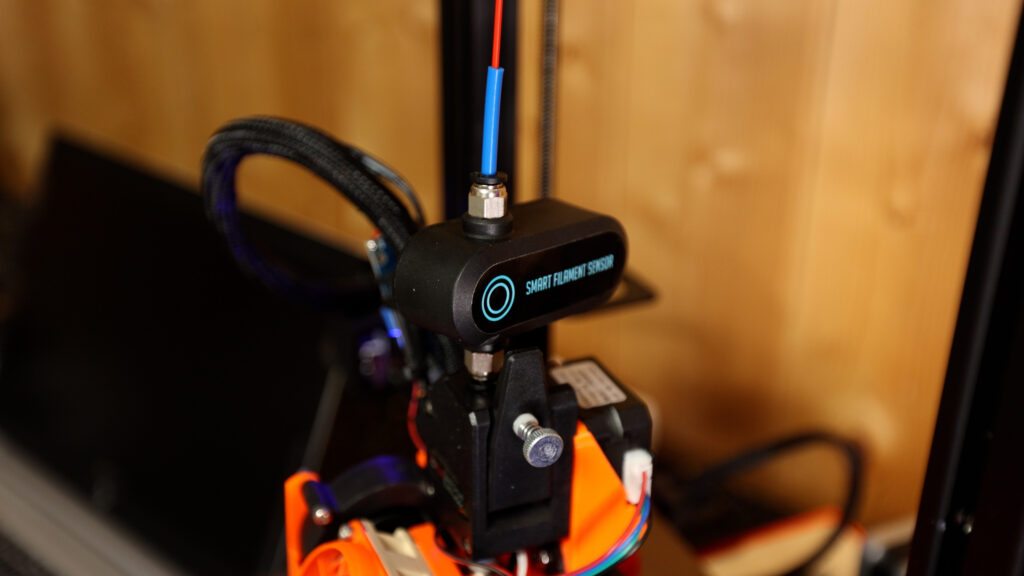
Why a filament sensor on a 3d printer like this Ender 3 v2?
If you’re printing a lot you will eventually run into situations where the filament on the spool isn’t enough to finish the print.
So somewhere during the print, the spool might be empty, so the printer should realize this and pause the print, until someone comes to insert new filament.
I am consuming multiple kilograms of filament on this single printer every single week and for me it’s a game changer. I wouldn’t wanna have a printer without a filament runout sensor.

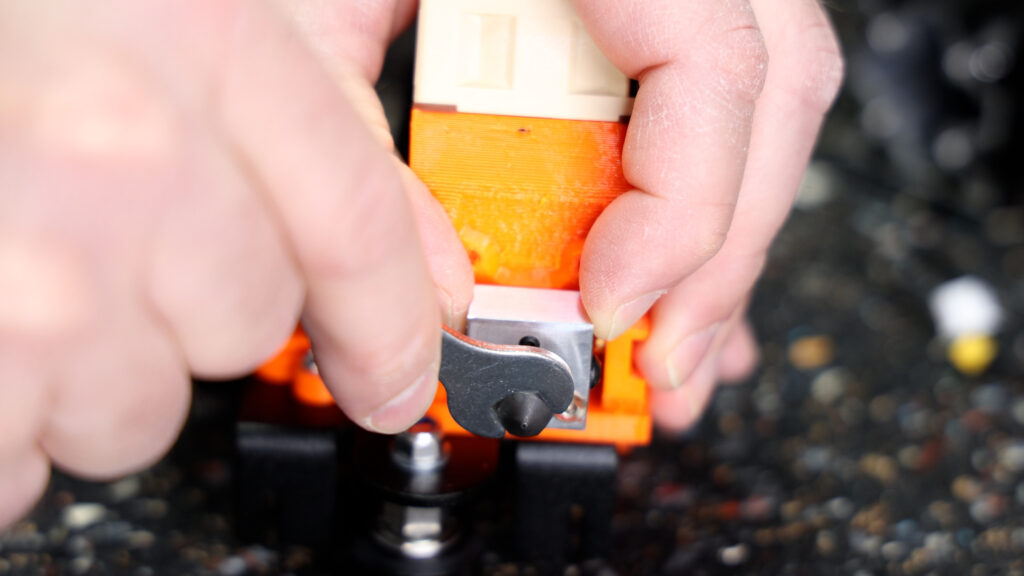
There is two kind of filament runout sensors. The simple ones - like this one here will tell the printer only whether there is filament in the sensor, or not. And these are very very cheap to build. I have a video down in the description how to build such a sensor for under a dollar - but you can also buy one, they are very cheap.
The second type of sensor are smart sensors, which will also measure, if the filament is actually moving, so if there is filament in the sensor and it’s not moving, it will mean you have a nozzle clog or another reason is keeping the filament from coming out of the nozzle.

These are more expensive but if your printer is more likely to cause these kind of issues, it might be worth it.
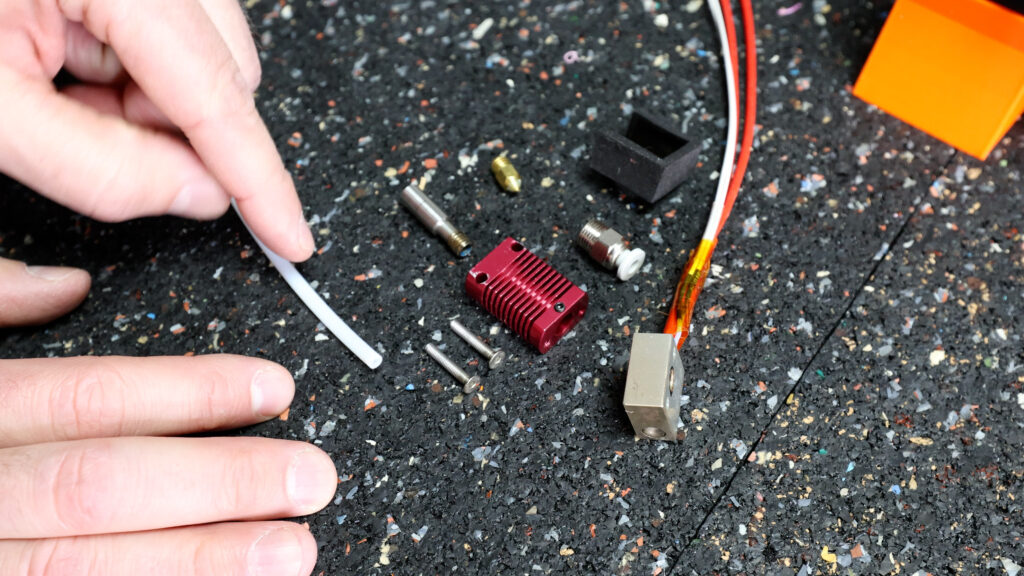
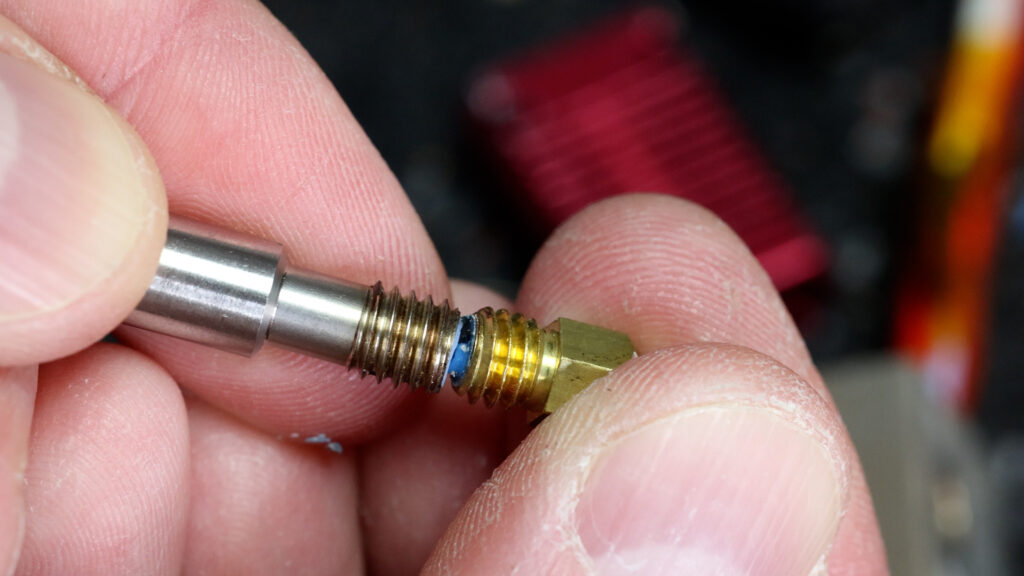
Slice Engineering all metal hotend insert
All ender printers and most Creality printers have the same hotend style where the PTFE tube goes down to the very end of the cooling block touching directly the threaded end of the nozzle.
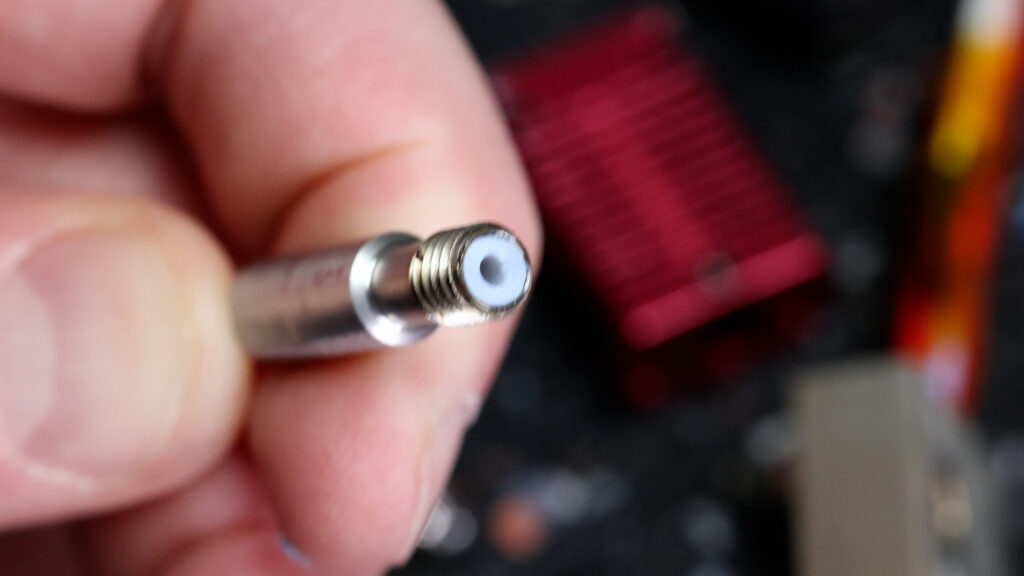
That means, printing higher temperatures than 230 degrees celsius is a risk to damage the PTFE tube and can cause toxic fumes from the PTFE. (read this article from capricorn about temperature safety with PTFE tubes)
The other problem with this setup is that it is more prone to clogging issues because there might be a little gap between the PTFE and the nozzle and if fluid filament gets in this gap and cools, it might cause a clog.
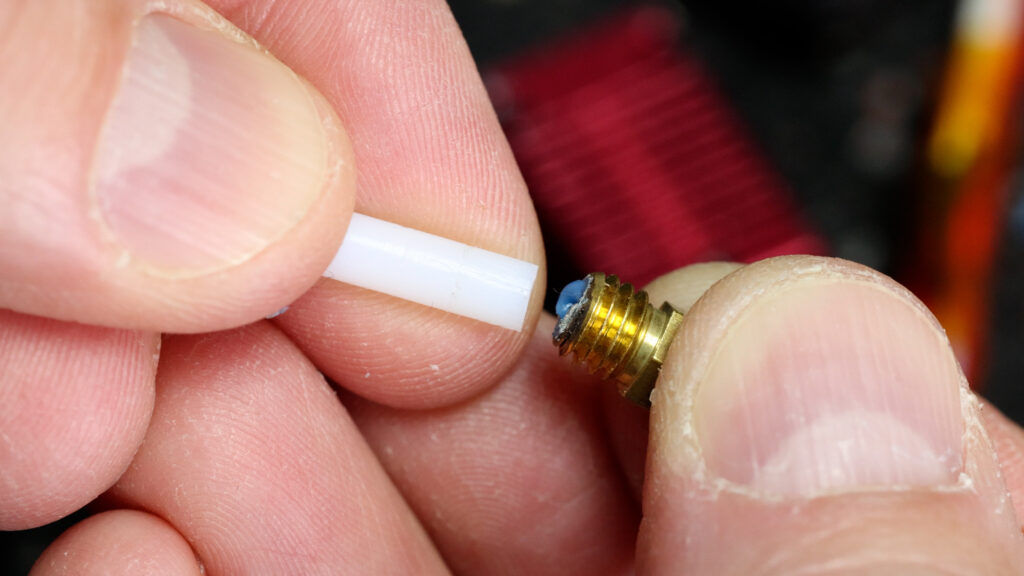
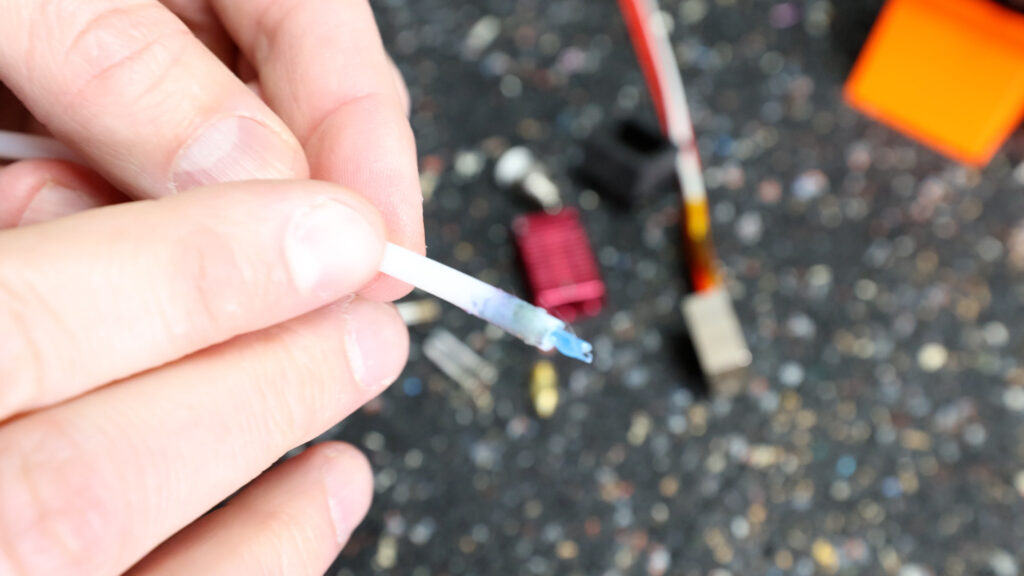
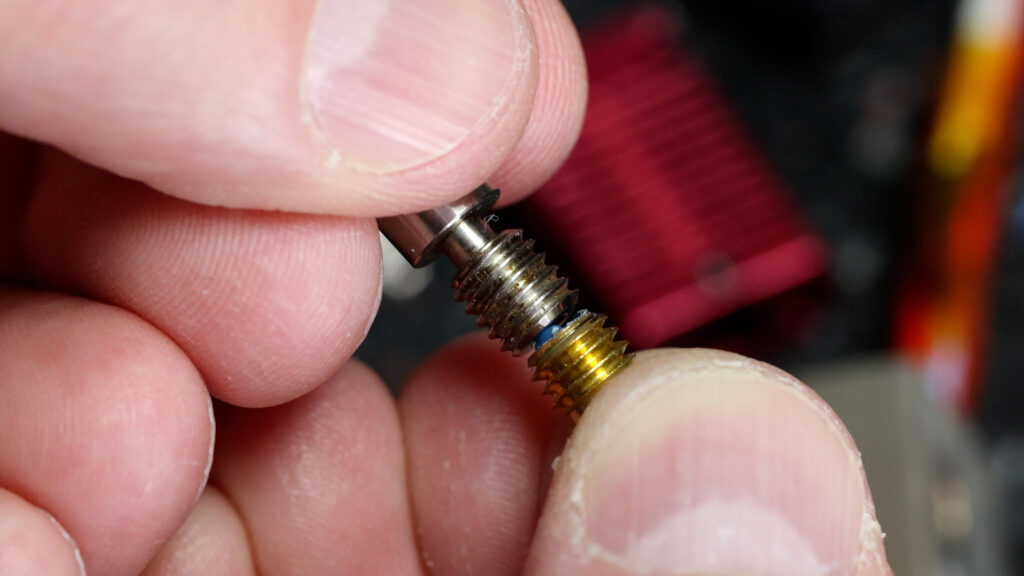
This happened to me so many times that I decided that I will swap out this section, the throat to an all metal version from slice engineering, where the PTFE ends up in the first few millimeters and all the rest of the path is all metal and it’s also coated on the inside so filament even when it’s a little warm, won’t get stuck.
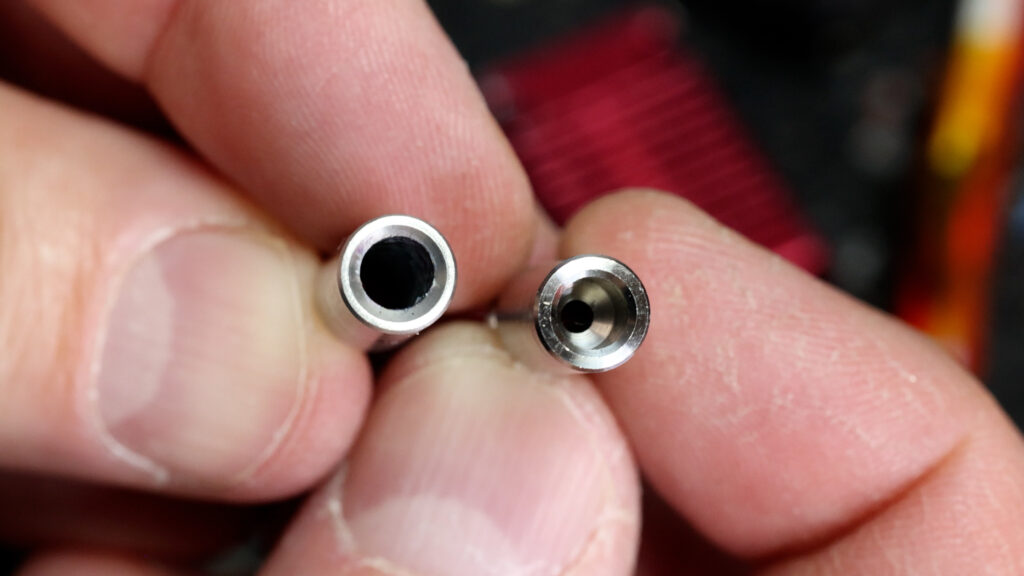
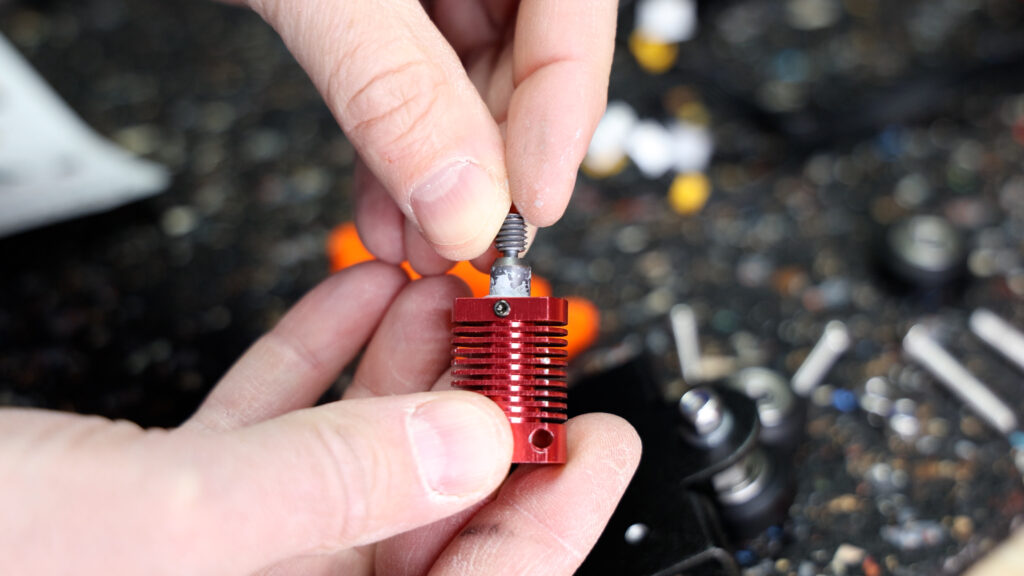
The lower end is tightly screwed against the nozzle in the heating block, so there is never going to be a gap.
Brozzl Hardened Steell nozzle
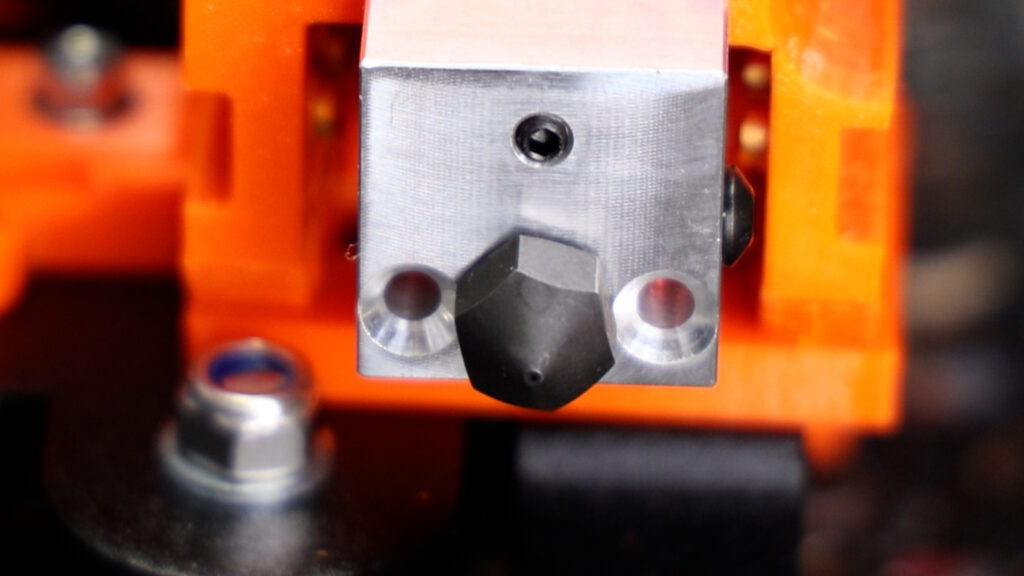
I’ve also swapped out the nozzle on the Ender 3 v2 for a hardened steel nozzle by Brozzl. This is clearly optional but if you’re printing more abrasive materials like carbon fiber filament or in general if you’re printing 24/7 like I am currently, your printer nozzle inner and outer dimensions will hold up so much better, that it will get you more consistent results over a longer period.
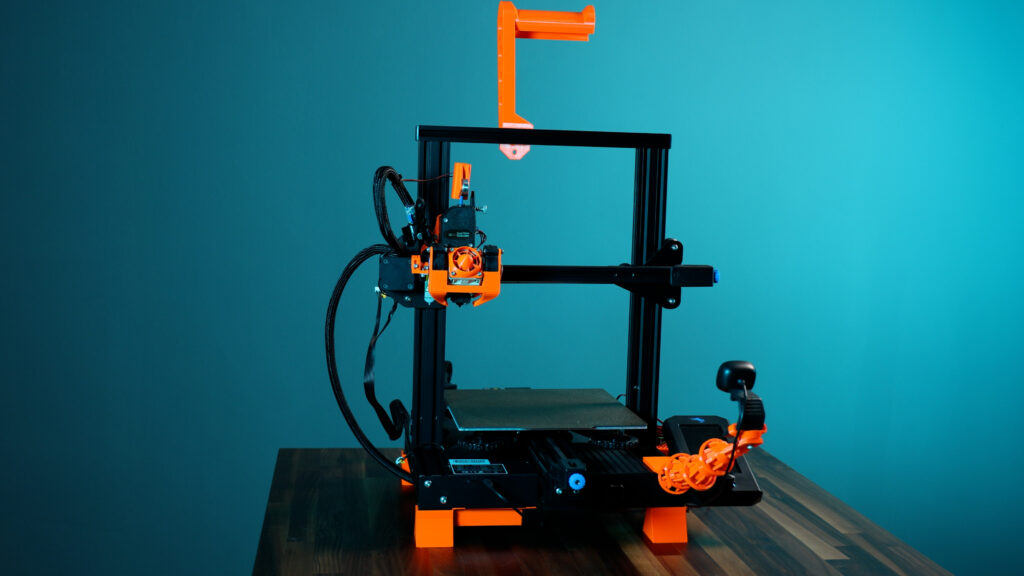
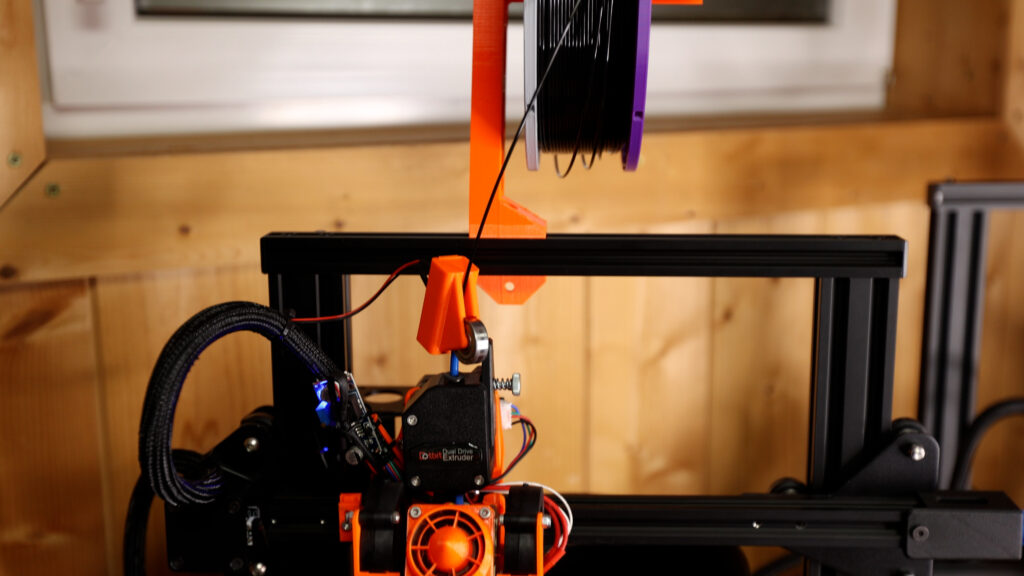
BMG direct drive + Hero Me 6
I have installed BMG direct drive extruders on this Ender 3 v2 as I wanted to get rid of the bowden extruder system that essentially every Ender printer has with the recent exception of the Ender 3 S1.

If you want to print all types of materials including flexible filaments at reasonably high speeds, I think there is no way around direct drive.
I am not going in depth about the cooling system and the BMG setup because there is another video about this topic linked here, where I am explaining this whole Hero Me + BMG setup in depth if you’re interested.
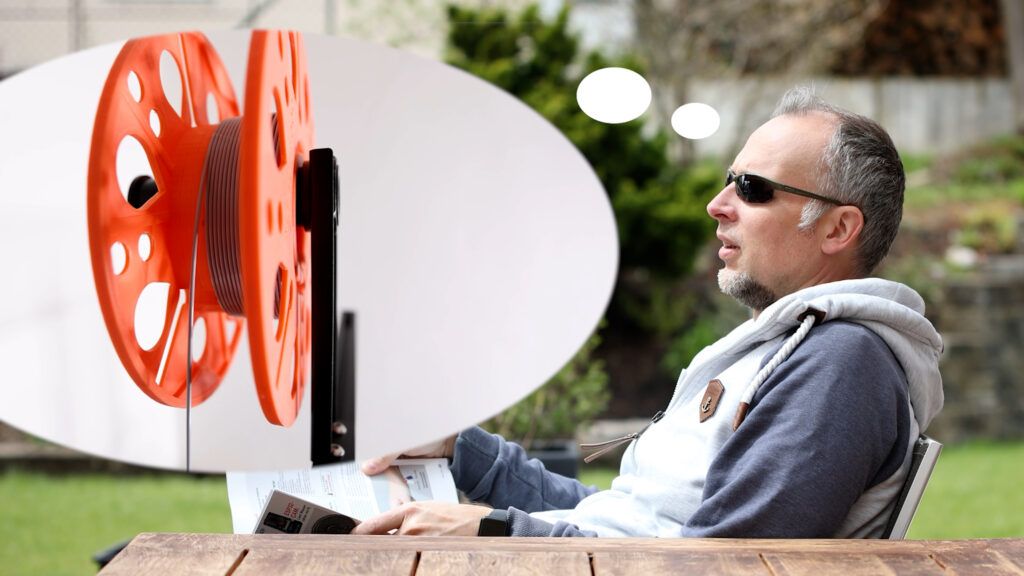
3D printed filament spool holder
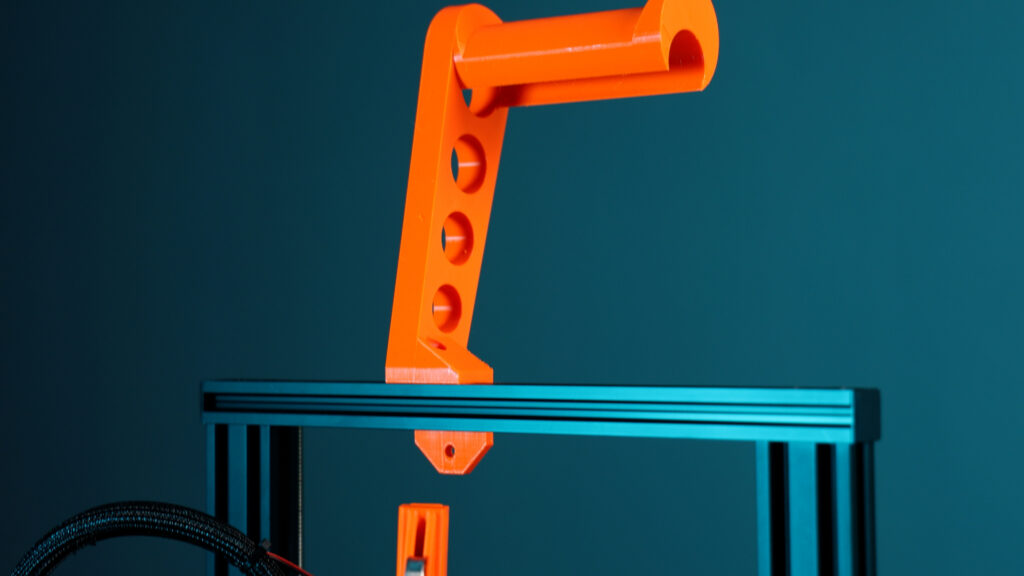
Also 3D printed is this new spool holder, that is better for this setup as it’s holding the spool a bit higher up so there is more clearance for the bigger direct direct drive and filament sensor setup specially with higher prints. And it looks cooler than the original one.
These were all the physical upgrades to my Ender 3 v2.
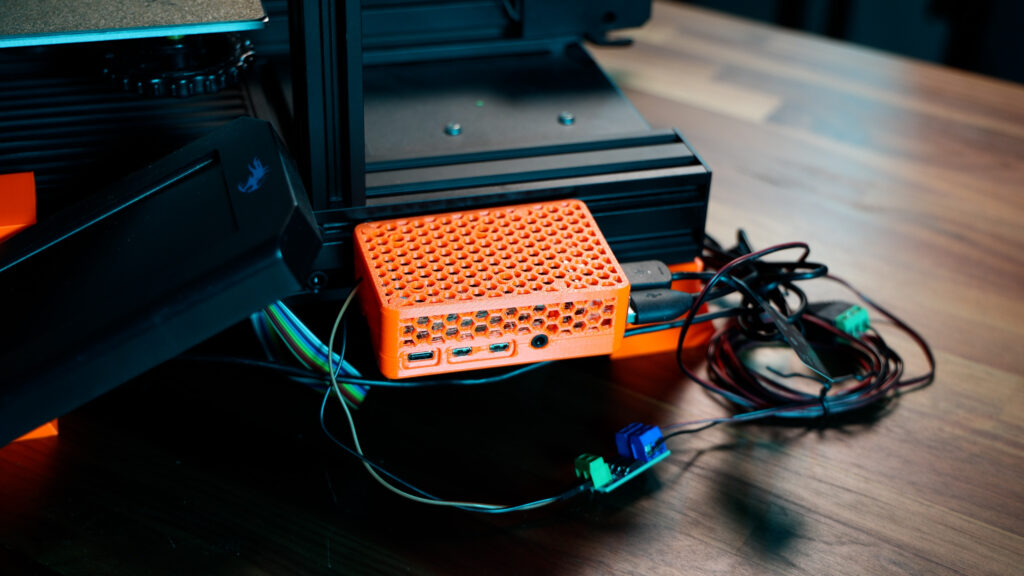
I also upgraded this printer to Marlin firmware and I am running this printer from Octoprint which controls the printer and the webcam on this little arm.

So watch one of the following videos next:
See you in the next one - bye!
VIDEOS TO WATCH
PEI Flexplate Upgrade: https://youtu.be/NaYJMz1dapE
BLTouch Upgrade: https://youtu.be/NTwEaVxEe1s
Ultra Fast Probing Setup: https://youtu.be/PFuz8915GCs
Filament Sensor Upgrade: https://youtu.be/2l7c3A6_eT4
Hero Me Upgrade: https://youtu.be/9TgQ5kzP09o
Marlin Firmware Upgrade: https://youtu.be/ToPo8XIOnsY
Octoprint Installation: https://youtu.be/ZxHf1LqPiPI
3D PRINTABLE PARTS
Electronics Case Cover for 80x80 fan: https://www.thingiverse.com/thing:4612023
Ender 3 v2 Feet: https://www.thingiverse.com/thing:4603075
Filament Sensor, Ender 3 Bowden Version: https://www.thingiverse.com/thing:3357097
Filament Sensor Housing, Slim Version: https://www.thingiverse.com/thing:5315651
Hero Me 6 Upgrade: https://www.printables.com/model/39322-hero-me-gen6-master-suite
Filament Spool Holder: https://www.thingiverse.com/thing:2799078
Webcam Mount Base: https://www.thingiverse.com/thing:3223979
Webcam Mount Ender 3 v2 Rails: https://www.thingiverse.com/thing:4129813
ADDITIONAL HARDWARE
80mm Fan: https://geni.us/80mmarticfan
Voltage Regulator: https://geni.us/lm2596
PEI Spring Steel Plate: https://geni.us/springsteelsheet
BLTouch Kit: https://geni.us/ender3v2bltouch
Smart Filament Sensor: https://geni.us/smartfilament
Copperhead Heatbreak by Slice Engineering: https://geni.us/copperheadheatbreak
Brozzl Hardened Steel Nozzle: https://geni.us/brozzlnozzle
BMG Dual Drive Extruder: https://geni.us/bmgdual
Raspberry Pi 4 Kit: https://geni.us/raspi4kit
OTHER LINKS
Capricorn PTFE temperature recommendations: https://www.captubes.com/safety.html
THE PRINTERS I USE: https://kit.co/danielcrosslink/the-3d-printers-i-use
MY MERCH: https://www2.crosslink.io/shop
BECOME A PATRON: https://www.patreon.com/crosslink
CHAT ON DISCORD: https://discord.gg/ne3J4Rf
BUSINESS INQUIRIES ONLY (OR IF YOU WANT TO SEND SOMETHING) - DANIEL@CROSSLINK.IO
FOLLOW ME:
INSTAGRAM - https://instagram.com/danielcrosslink
TWITTER - https://twitter.com/danielcrosslink
FACEBOOK - https://facebook.com/danielcrosslink
WEBSITE: https://www2.crosslink.io
The Music I use: https://www2.crosslink.io/es, AMAZING for YouTubers!
GEAR USED
https://kit.co/danielcrosslink/my-video-gear
Disclaimer: As an Amazon Associate I earn from qualifying purchases.